Start with the perforations, not guesses
If two stamps look similar at a glance, perforations can be one of the clearest ways to tell them apart. The American Philatelic Society notes that some stamps share the same design but have different numbers of perforations, and that a perforation gauge makes those differences simple to measure. That is usually a better approach than relying on memory or general appearance alone.
A safe first check is to compare the holes along each edge of the stamp without forcing anything. Perforations are the holes between stamps that make them easy to separate, and the goal is to match the edge pattern to a gauge scale. If the stamp appears unusual, record the result and compare it with catalog information rather than making a quick assumption.
Use a perforation gauge as the main measuring tool
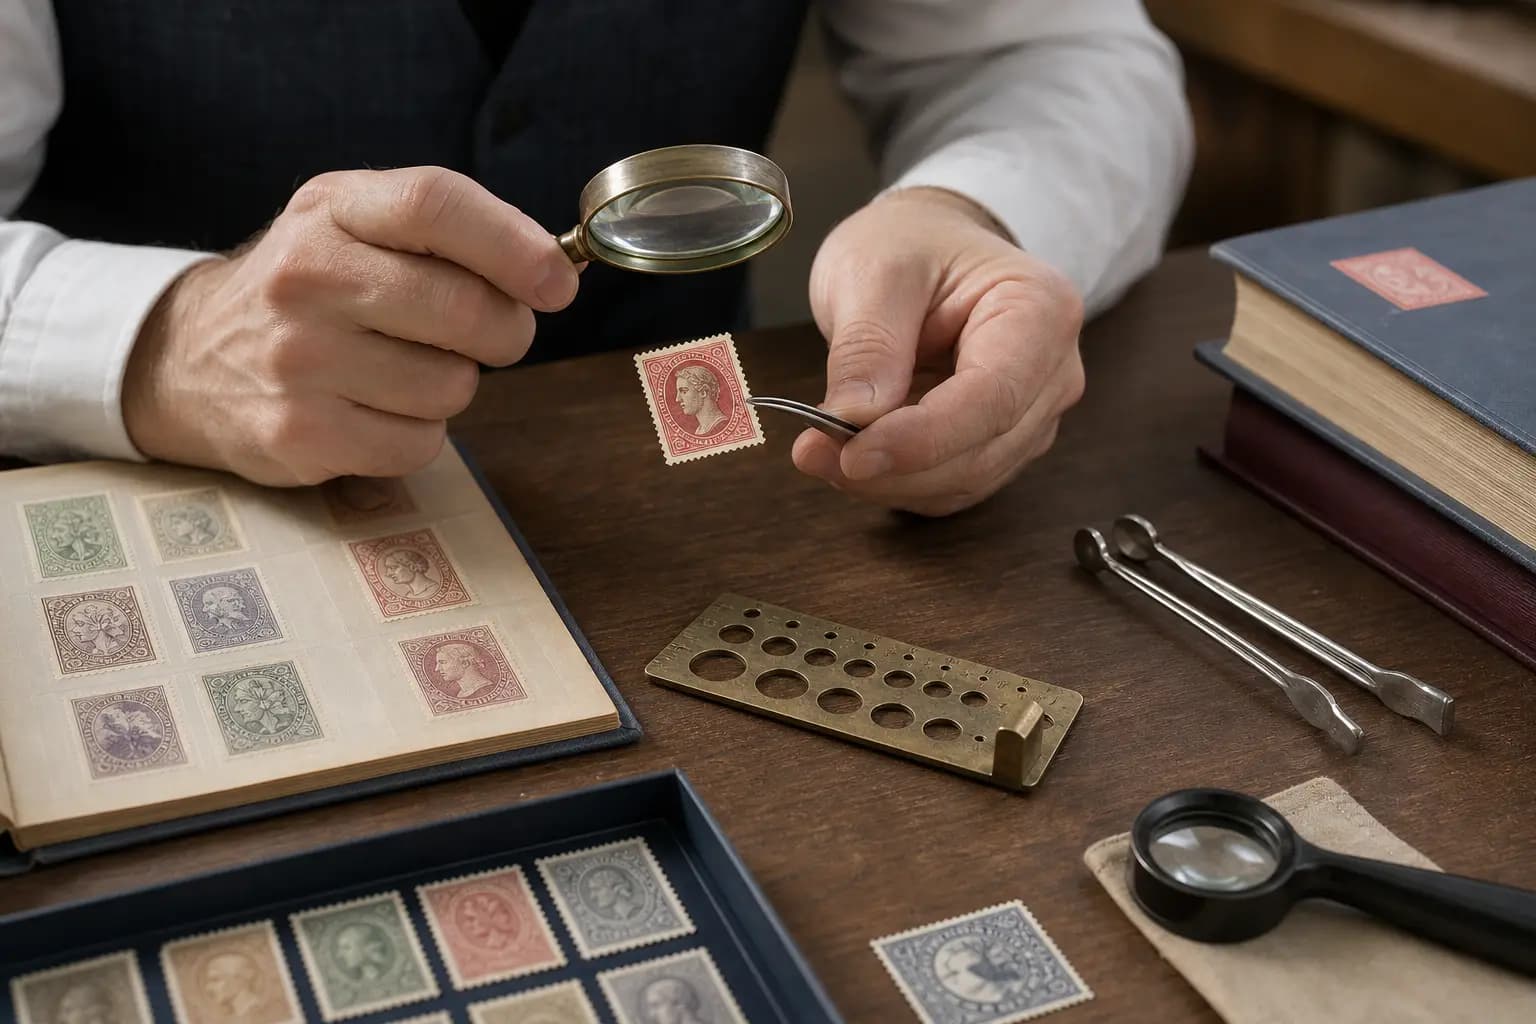
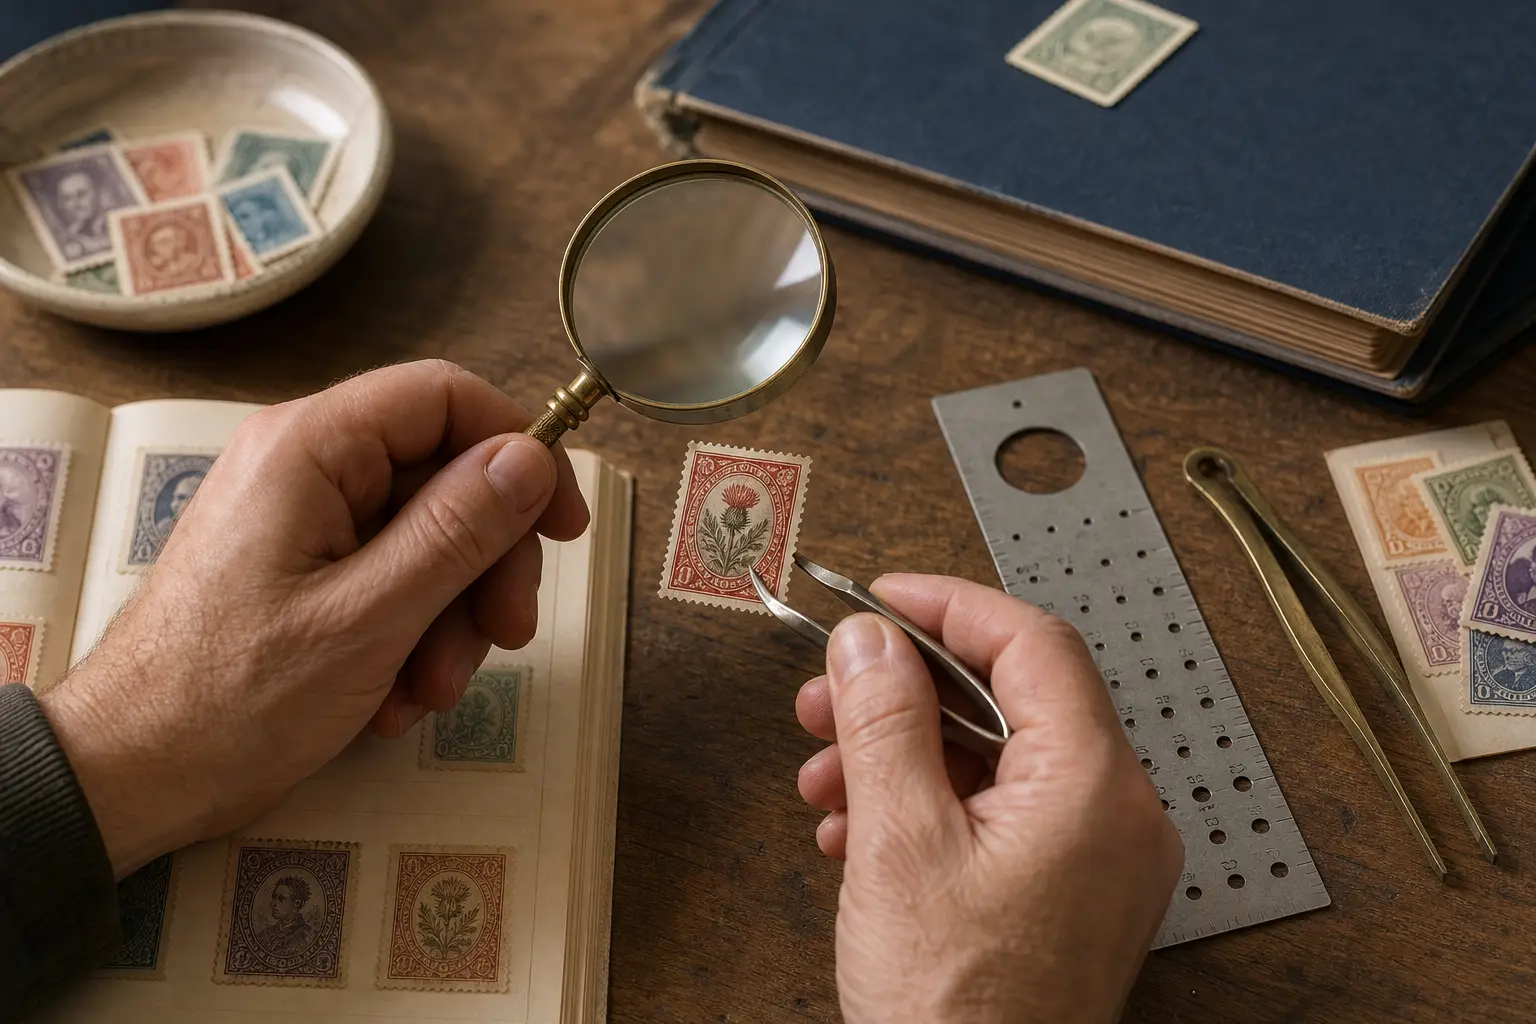
The APS describes perforation gauges as tools made of cardboard, plastic, or metal that help measure perforation size by comparison. You place the stamp against the different scales until the perforations match exactly. This matters because a stamp with the same design may exist in more than one perforation variety, and those varieties can be easy to miss by eye alone.
You do not need to count every hole manually unless you want to understand the method. The APS says you could count the perforations along a 20 millimetre row on each edge, but that is confusing for most people, which is why a gauge is preferred. When you are checking a stamp, keep it flat, line up one edge carefully, and test each side in the same way so you do not mix measurements from different stamps.
Handle the stamp so the edge stays unchanged
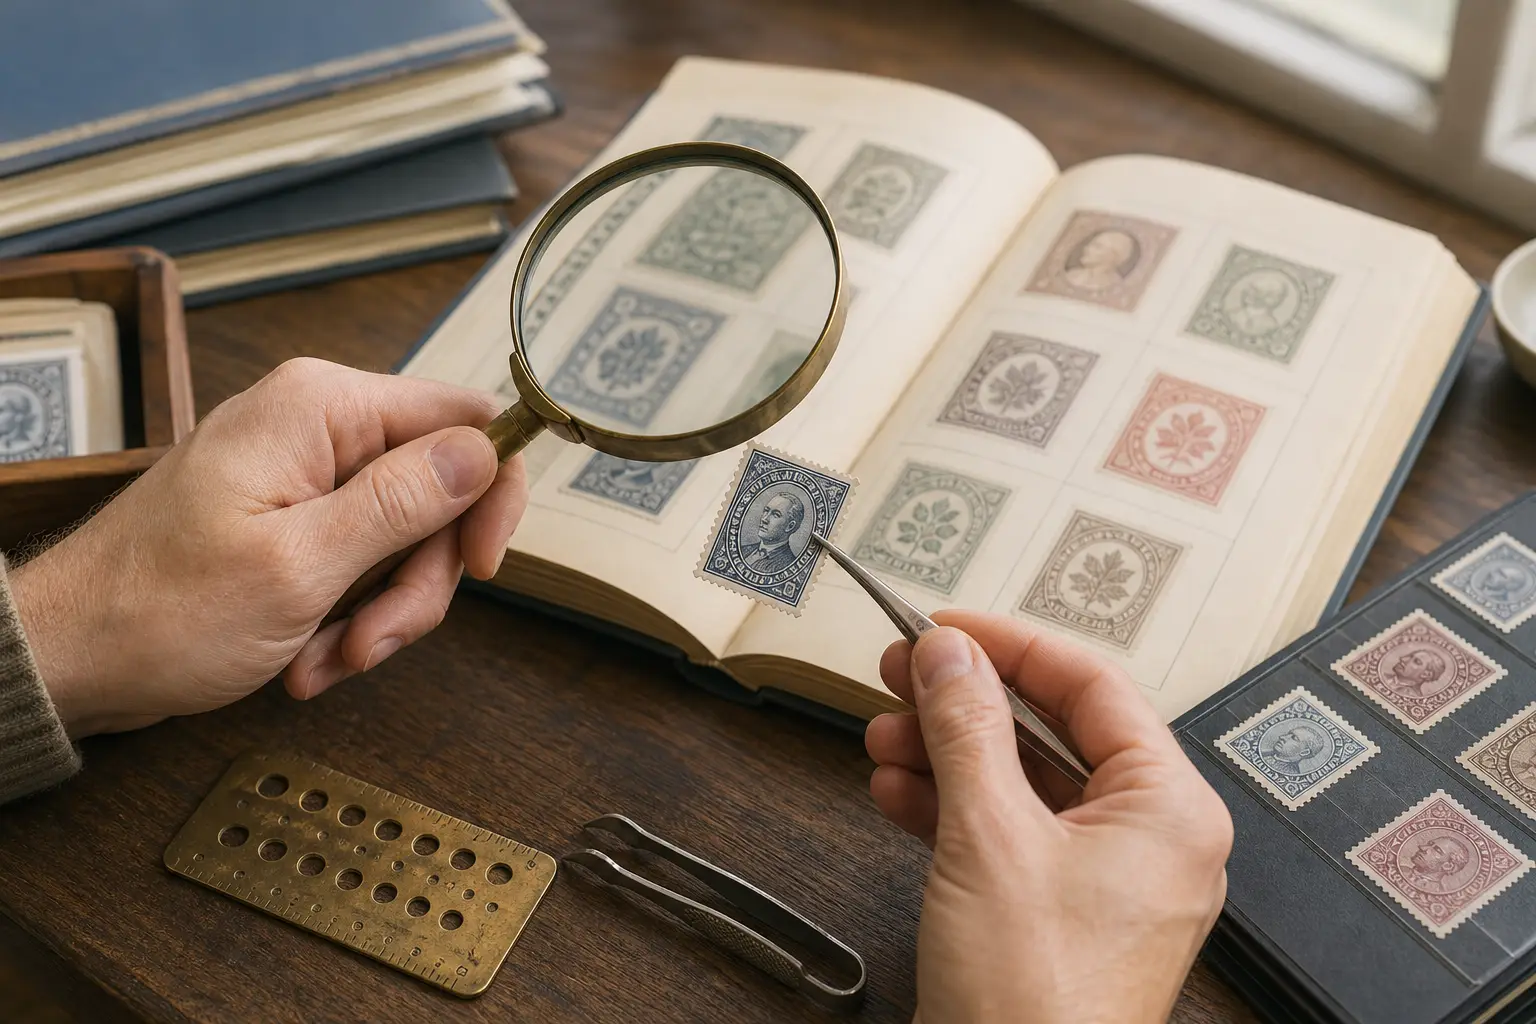
Good identification depends on good handling. The APS advises using tongs for dry stamps because skin oil can damage them, even when hands are clean. Tongs are like tweezers, but with a smooth gripping surface designed to handle stamps. That reduces the risk of rubbing, bending, or leaving marks near the perforations you are trying to study.
Do not use tape or glue on a stamp you are examining or mounting, because the APS says that can decrease value and may damage the stamp when removal is attempted later. If a stamp is already attached to paper or has fragile edges, stop before trying to pull, peel, or separate it by force. In difficult cases, keep the item as it is and identify what you can from the visible surface, the perforations, and the catalogue description.
Use magnification to confirm what the eye cannot settle
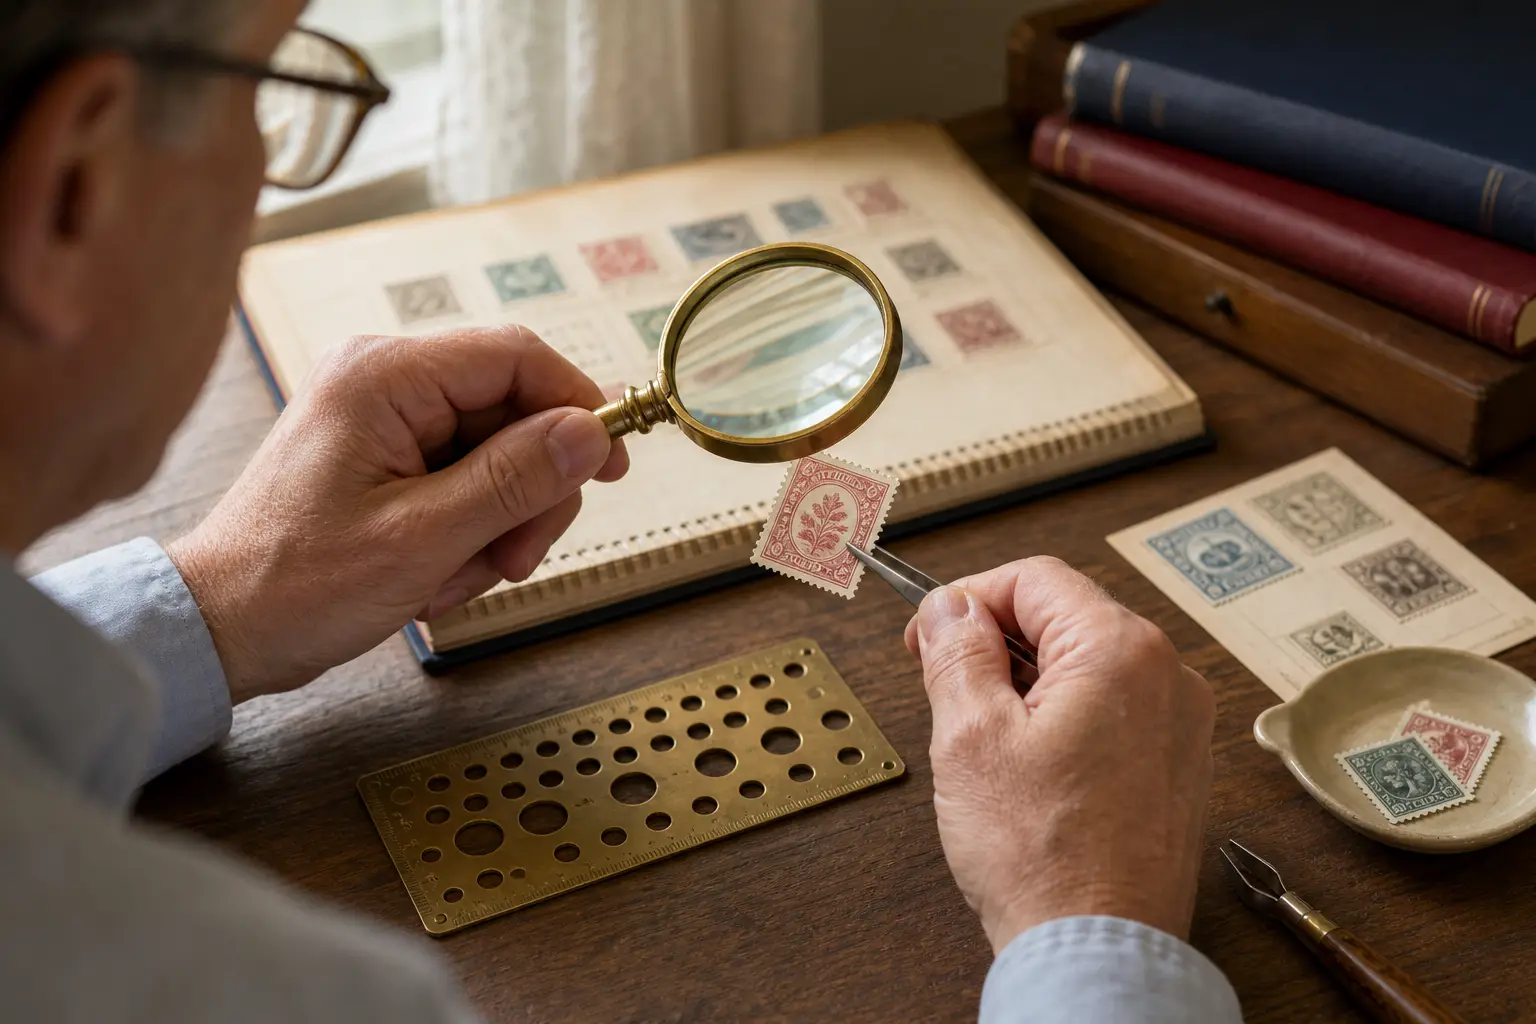
The APS recommends a magnifying glass because some stamps appear alike until close inspection reveals small differences that can help identify a rare stamp. A useful lens should magnify clearly without distortion, and the APS suggests about 5x to 10x magnification. That level is enough to inspect perforation shape, spacing, and edge condition without making the image so large that it becomes hard to interpret.
Magnification is not a substitute for the gauge, but it helps you position the stamp accurately and spot edge irregularities. For example, a missing or short perforation, worn corner, or uneven edge can make a stamp look different from the catalogue image. If what you see under magnification does not match what the gauge suggests, note the difference and compare it again before deciding which variety you have.
Confirm the finding in a catalog, not by appearance alone
The APS says stamp catalogs are a great reference book because they include illustrations and useful facts such as issue date, description, reason for issue, how the stamp was printed, and values in used and unused condition. For perforation identification, the most important part is that catalogs help you connect a physical measurement to an issued variety. That makes the identification more reliable than relying on shape or colour alone.
Use the catalog as a second step after measuring the perforations. First, identify the design, then compare the measured perforation value with the catalog entry for that design. If the catalog offers more than one perforation listing, check the one that matches your gauge result. If it does not match exactly, do not force a conclusion; it may be a different issue, a worn edge, or simply a stamp that needs another look under better light.
Build a simple, safe identification workflow
A practical workflow is easy to repeat. Place the dry stamp on a clean surface, lift it with tongs, inspect the edges with a magnifying glass, and compare each side with a perforation gauge. Then open the catalog and match the design and perforation measurement to the correct listing. If you are keeping notes, record the gauge result, the catalogue page, and any edge damage or uncertainty you observed.
StampSnap can be used as a place to create a likely identification record, but the same caution applies: the software record should support your own comparison, not replace it. If the stamp still feels ambiguous, save the observations and revisit them later. A careful process is better than a hurried label, especially when the edge condition is uneven or the stamp has visible wear that may affect what you read.
When perforations are not enough on their own
Perforations are important, but they do not always solve every identification problem by themselves. Two stamps can share similar perforation measurements and still differ in other details that a catalog or magnified comparison will reveal. The APS materials point collectors toward combining tools and records, which is the safest habit when a stamp has more than one possible match.
If the stamp is part of a larger group, compare it against similar examples in the same set or issue before settling on a conclusion. Keep handling minimal, avoid adhesive products, and do not try methods that could harm the paper or edges. A cautious comparison of design, perforation gauge reading, magnification, and catalog entry is the most dependable way to identify the stamp without causing damage.
Keep your identification notes useful over time
A well-made note is often as valuable as the first conclusion. Write down the perforation gauge reading, the catalog description, and any visible edge condition so you can revisit the item later if needed. This is especially helpful when a stamp looks close to another issue or when the edge wear makes the measurement less certain.
If you are organising a collection, store the stamp in an album or stock book rather than leaving it loose after inspection. The APS advises albums made with acid-free paper or stock books for protection, and says sticky pages should not be used. Good storage preserves the very edge details that you may need for future identification, which means your first careful comparison remains useful.
Frequently asked questions
What is the safest way to identify stamp perforations?
Use tongs to handle the dry stamp, compare the edge holes with a perforation gauge, and confirm the result in a stamp catalog.
Can I count perforations by hand instead of using a gauge?
Yes, but the APS notes that it is confusing to count the perforations along a 20 millimetre row on each edge, which is why a gauge is recommended.
Why do two stamps with the same design need perforation checks?
The APS says some stamps look alike but have different numbers of perforations, so the perforations can distinguish varieties that otherwise seem identical.
Should I use tape or glue to hold a stamp in place during identification?
No. The APS says tape or glue can decrease value and may damage the stamp when removal is attempted later.
What if the perforation measurement does not match the catalog exactly?
Do not force a conclusion. Recheck the stamp under magnification, compare all edges again, and consider that wear or another variety may be affecting the result.