The short answer: dry stamps flat and patiently
The safest way to dry stamps is to let them dry flat, with light pressure to reduce curling and sticking. After soaking, place each stamp between paper towels and add a book on top, then leave it overnight. Do not rush the process by pulling, heating, or handling the stamp roughly while it is still wet.
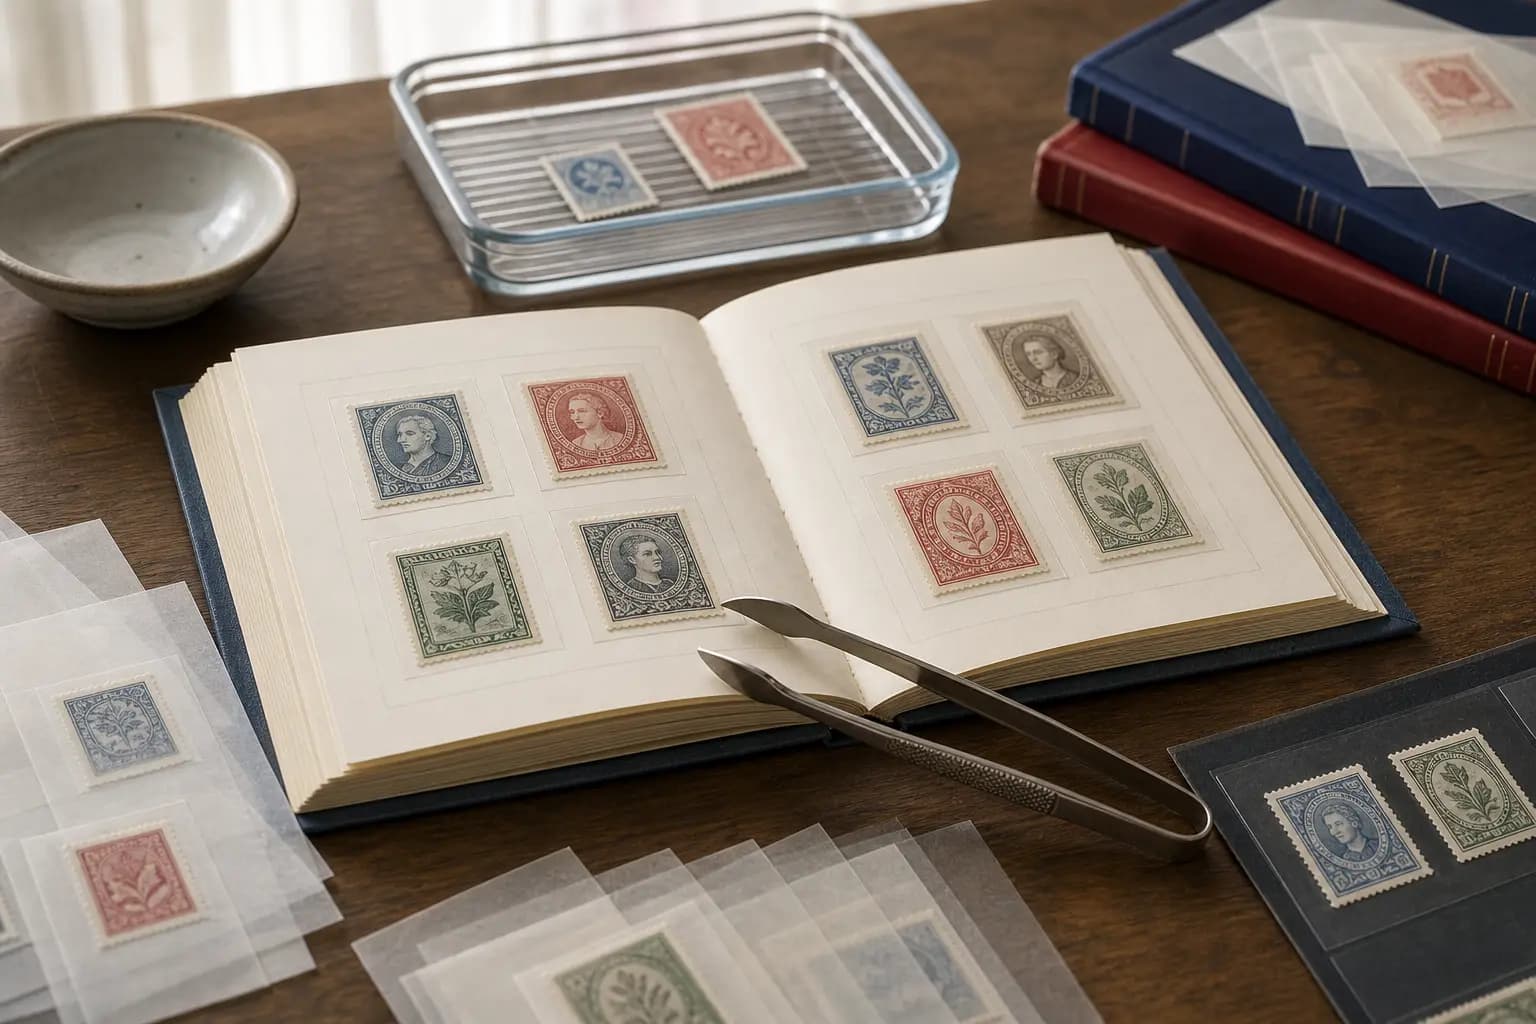
If a stamp is still wet or softened, treat it as fragile material. The safest approach is to move it as little as possible until it has dried enough to hold its shape. Use tongs only for dry stamps; a wet stamp is more easily damaged than a dry one, and tongs should not be used to grab a softened stamp.
First decide whether the stamp should be removed at all
Before drying begins, decide whether the stamp should come off the envelope in the first place. If the envelope has a special cancel or image that matters to you, it may be better to keep the entire cover and store it as part of the collection. That avoids unnecessary soaking and protects material that may be important to the story of the item.
When you do want the stamp separated, soaking is the standard method for many stamps. The American Philatelic Society notes that some U.S. self-adhesives issued in 2004 or later may not soak easily, if at all, and current U.S. self-adhesives often need different removal methods because the backing can be oil based rather than water based. In those cases, do not force the stamp free.
Use a careful soak, then stop as soon as the stamp floats free
For stamps that are suitable for soaking, place them stamp side up in a shallow bowl with a few inches of lukewarm water. The water should not be hot, because heat may damage stamps. Do not put too many in at once; they need room to float. If you are soaking many stamps, change the water after two or three batches, especially if colours begin to bleed.
When the stamp begins to float free from the paper, remove it gently. Do not pull it before it is ready, because that can tear the paper or damage the stamp. If you are using tongs, handle the stamp carefully only after it is free and no longer soft enough to be easily distorted. Rinse the back gently in fresh water to remove gum before drying.
Reduce curling without overhandling the paper
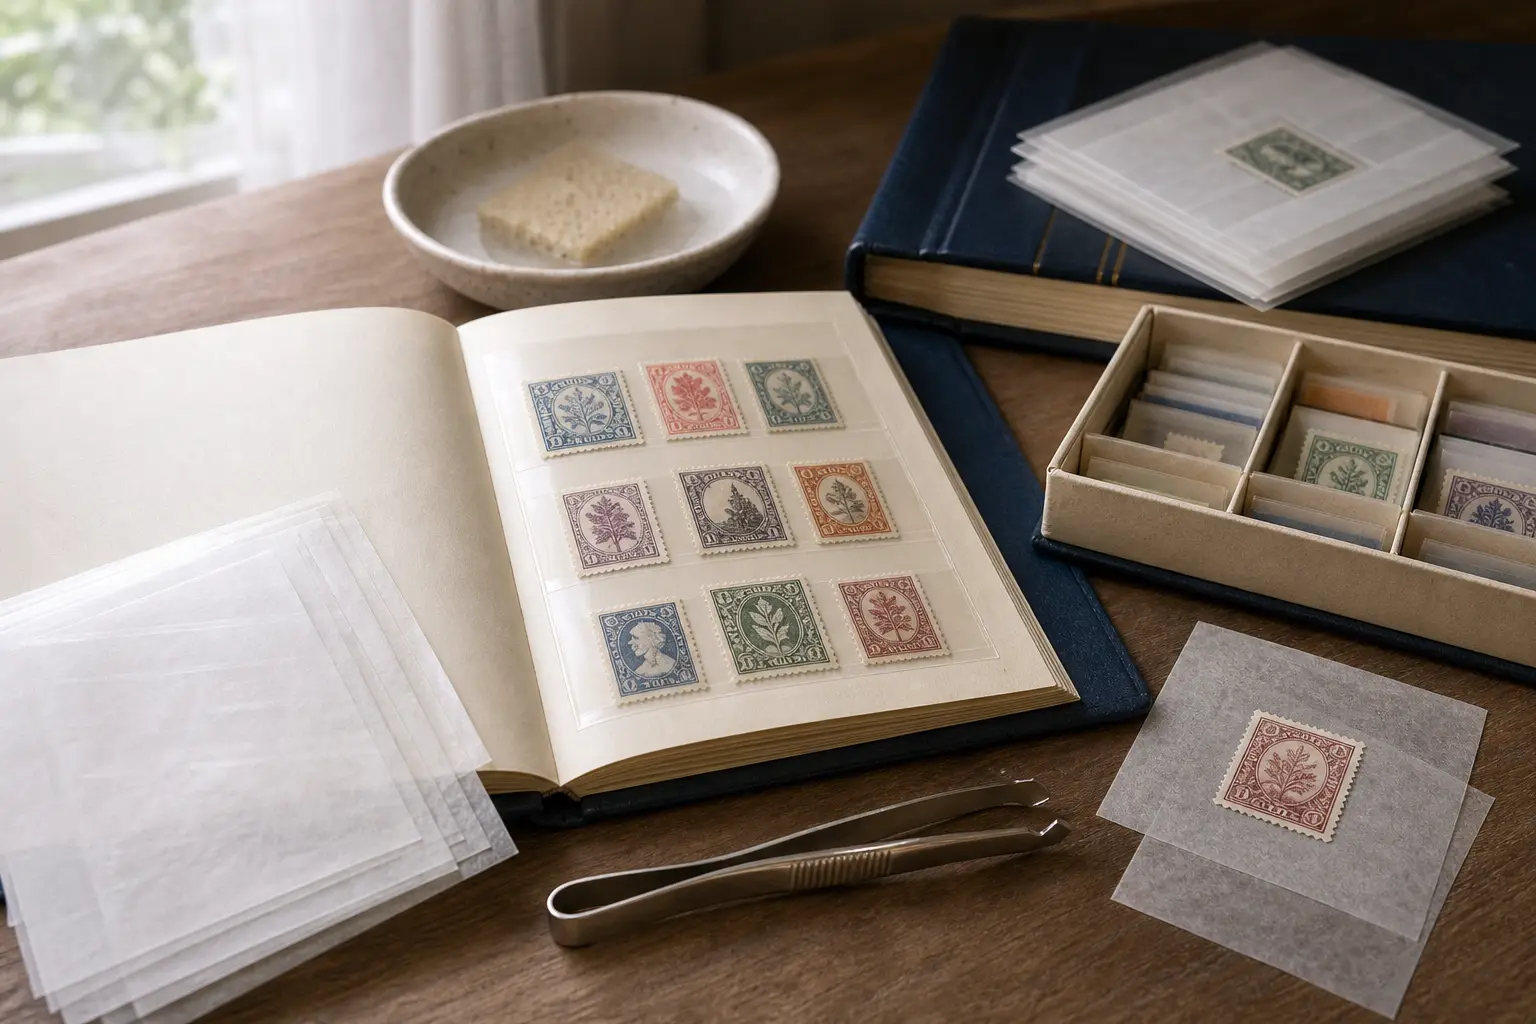
Curling is common after soaking, but it can usually be managed with simple restraint. The APS recommends placing the stamps between two paper towels and setting a book on top of them to help prevent curling. This gives the stamp a flat, even drying surface without the pressure that could crease or crush it.
Do not try to speed up drying with household heat or direct sunlight. Avoid rubbing the stamp, pressing hard on it, or trying to smooth it while it is still damp. If the paper has a strong curl, more pressure is not necessarily better; the safer method is to let time and gentle flattening do the work.
Sort after drying, not before
Once the stamps are dry, you can sort them into the order that suits your collection, such as by country, topic, or service type. The APS suggests sorting after soaking and drying, not while the stamps are still wet. This matters because damp material can stick to other surfaces and is easier to damage during repeated handling.
If you have duplicates, keep the best example and set the others aside for trading or future use. It is also sensible to remove badly damaged stamps unless they are valuable or hard to replace. A dry, orderly batch is much easier to inspect with a magnifying glass, and tools such as stamp tongs and perforation gauges are best used once the stamps are fully dry and stable.
Store dry stamps in a way that keeps them flat and safe
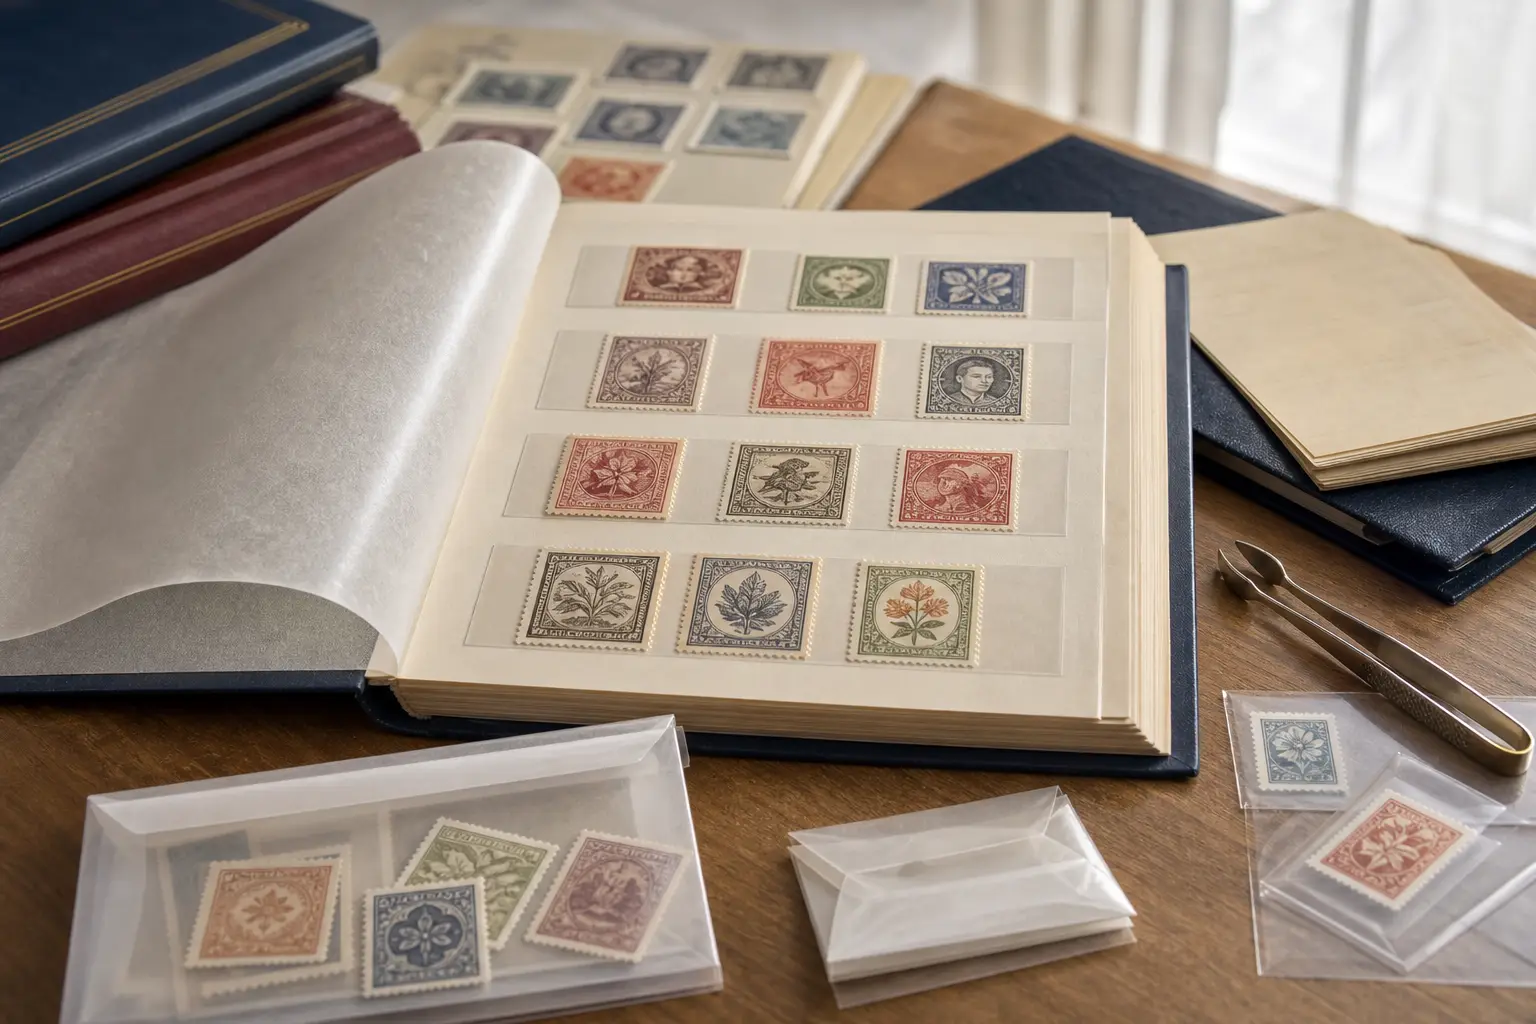
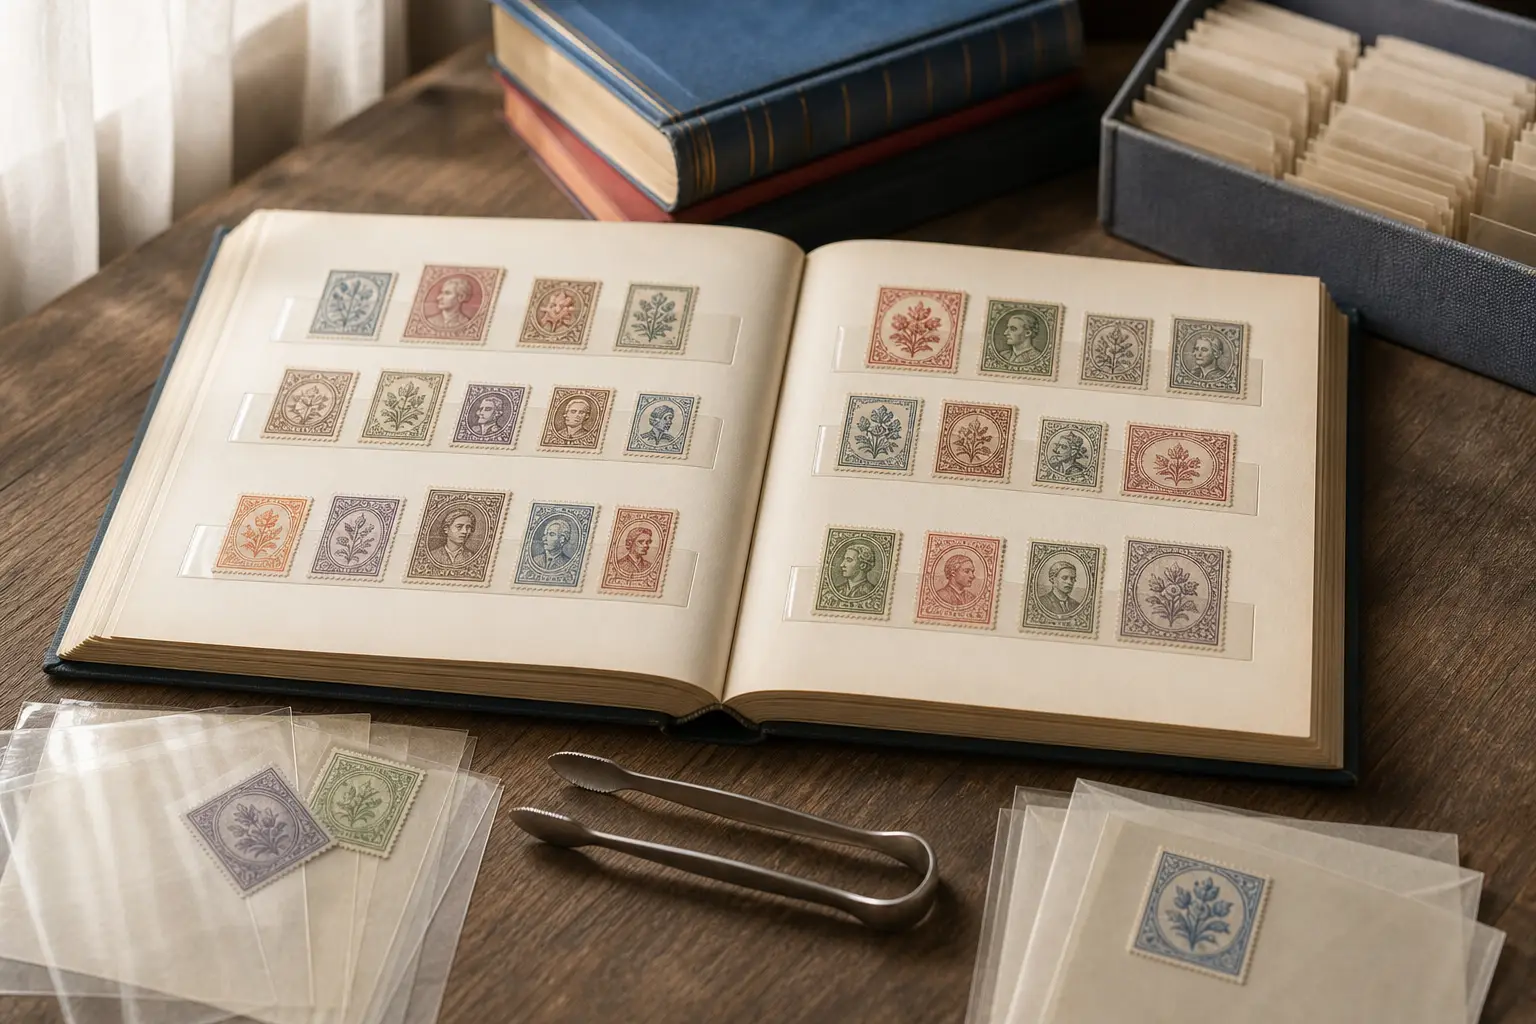
After drying, store stamps in glassine envelopes, albums, or stock books until you are ready to mount them. The American Philatelic Society recommends albums with acid-free paper and warns against sticky photo album pages, which can damage stamps. Stock books are another practical option because they allow flexible arrangement while still protecting the stamps.
When you are ready to mount dry stamps, use hinges or mounts rather than tape or glue. Tape and glue can lower value and may damage the stamp during later removal. If you are creating a digital collection record in StampSnap, note condition, perforation differences, and any signs of curling or gum disturbance after drying, because those details can matter later when you compare examples.
Know when drying advice should stop and expert help should begin
Drying instructions are useful for ordinary loose stamps, but they are not a substitute for caution with unusual, fragile, or potentially important material. If a stamp is attached to a cover with a special cancellation, or if it appears to be a self-adhesive issue that does not respond to water, stop and reassess before attempting removal. Forcing the process can do more harm than leaving it in place.
The safest collector habit is simple: separate wet from dry, use minimal handling, and let the material tell you how fragile it is. If you are unsure, keep the stamp flat, avoid extra movement, and choose storage over intervention until you have identified the safest next step.
Frequently asked questions
How should I dry stamps after soaking them?
Place them between two paper towels, set a book on top, and leave them overnight so they dry flat and are less likely to curl.
Can I use tongs on a wet stamp?
No. Tongs are recommended for dry stamps, while wet stamps are easier to damage and should be handled as little as possible.
Should I pull a stamp free from the paper as soon as I soak it?
No. Wait until it floats free on its own, because pulling too early can tear the paper or damage the stamp.
What should I do if a stamp has a special cancel on the cover?
Consider keeping the entire envelope in your album instead of removing the stamp, especially if the cover itself is part of the item you want to preserve.