Start with the safest answer: use visible clues, not guesses
The safest way to identify a stamp’s printing process is to treat it as a comparison exercise, not a quick guess. Start with what you can see clearly: the design, the paper, the perforations, and any catalogue information attached to the issue. The American Philatelic Society notes that a stamp catalogue can show the issue date, a description, why the stamp was issued, how it was printed, and its value in used and unused condition. That makes the catalogue a practical first reference when a stamp looks familiar but not fully certain.
This approach matters because some stamps appear alike at first glance. The APS also notes that close inspection can reveal small differences that help identify a rare stamp. If you are comparing similar examples, do not force a conclusion from one clue alone. A methodical comparison is safer and more reliable than trying to decide from colour or overall design shape by memory.
Use a magnifier to compare details that are easy to miss
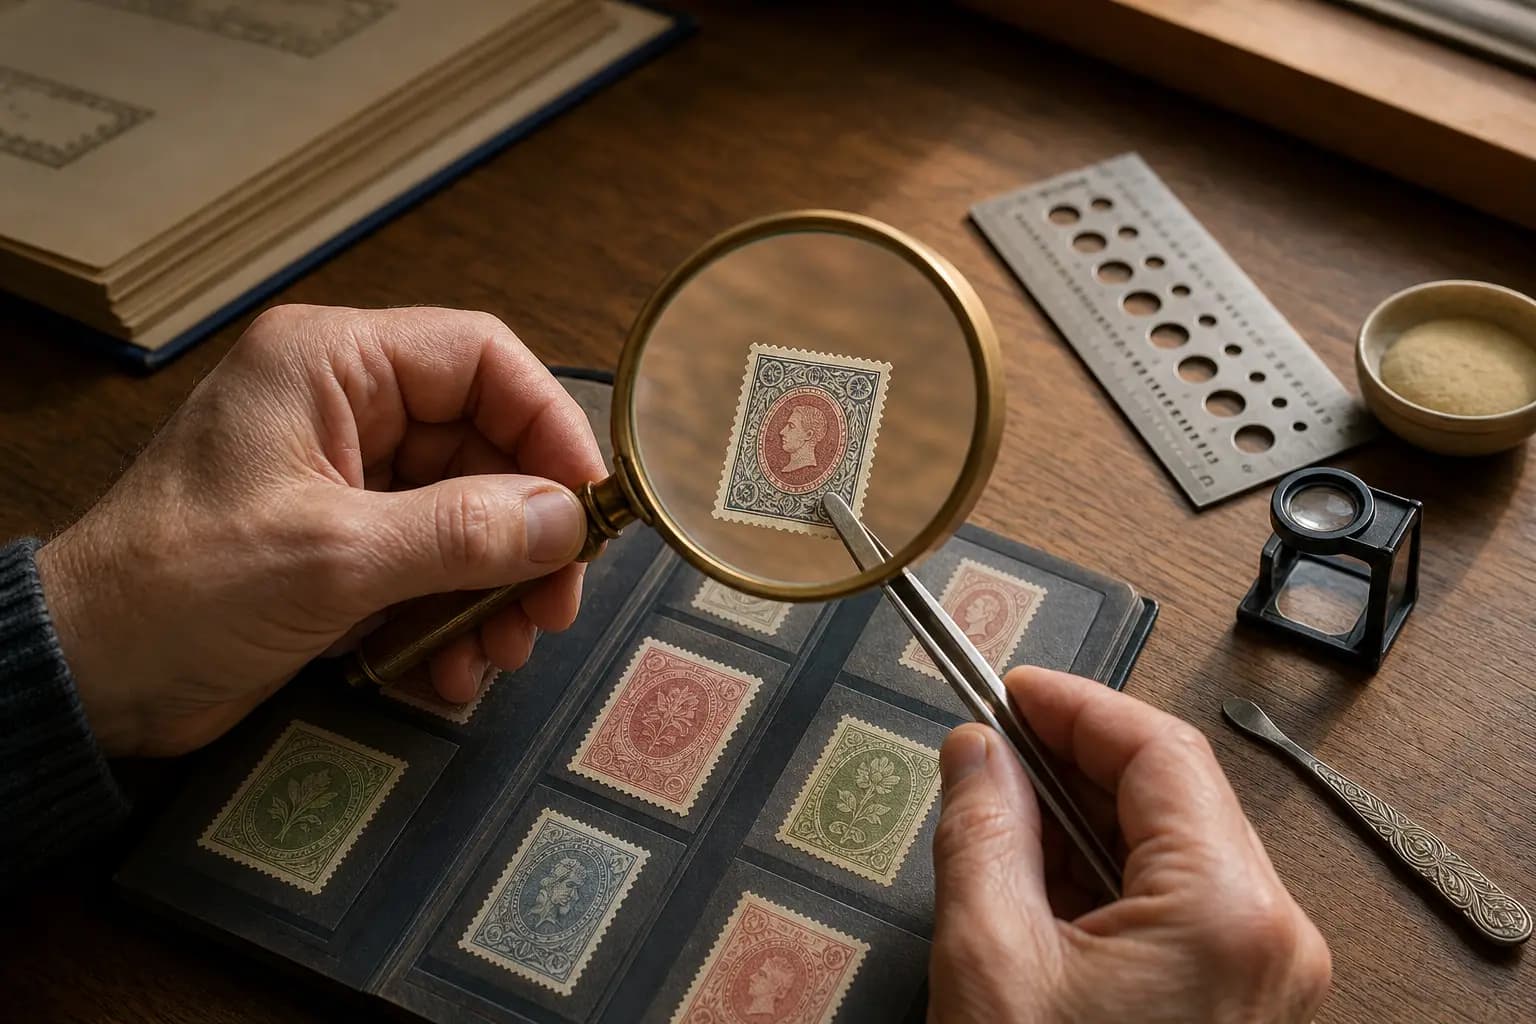
A magnifying glass is one of the most useful tools for this task. The APS recommends a lens that gives at least 5x to 10x magnification and does not distort the image. With that kind of magnification, you can inspect fine details that may help separate one printing style from another, especially when the stamp design is small and the differences are subtle.
Look for small variations in line quality, edge definition, and how cleanly the design elements sit on the paper. The source evidence does not support turning these observations into a universal rule for every stamp, so use them as clues rather than proofs. If the details are unclear, record what you see and compare it against catalogue descriptions or a trusted reference image instead of making a final call too early. A note in StampSnap can help keep those observations together for later comparison.
Check perforations carefully, because similar designs can differ there
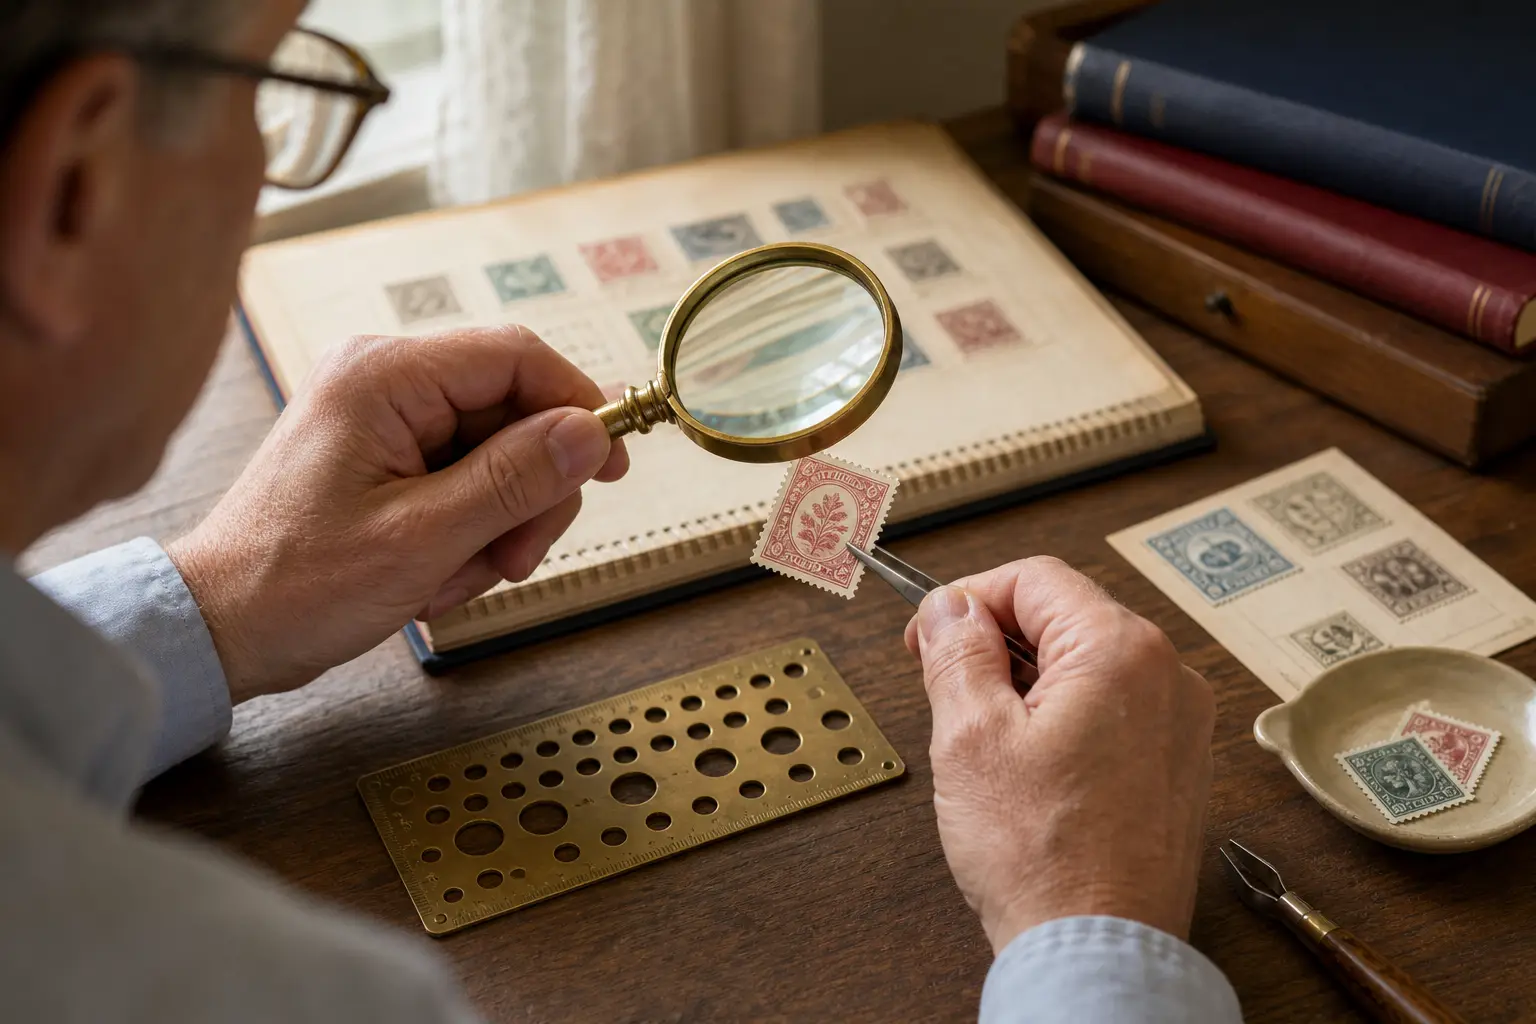
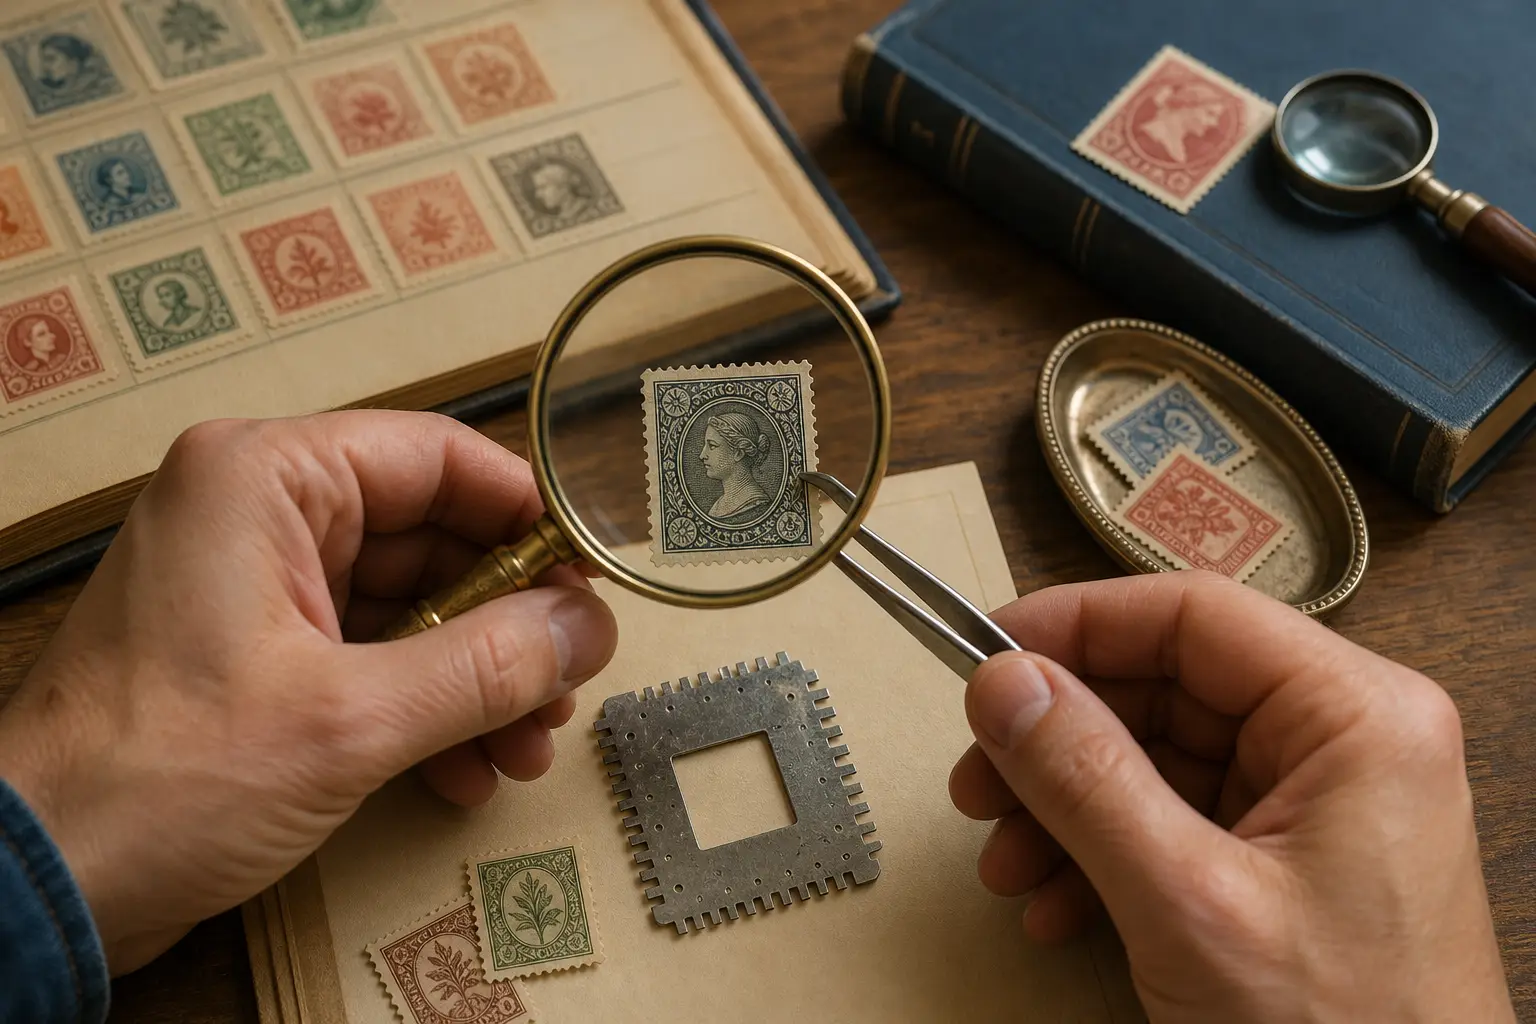
Perforations are one of the clearest safe clues for identification. The APS explains that some stamps have the same design but different numbers of perforations, meaning the holes between the stamps do not match. A perforation gauge makes this comparison much simpler than trying to count perforations by hand along a fixed length.
To use the gauge, place the stamp against the scale until the perforations match exactly. That measurement can separate otherwise similar stamps and may point you toward the correct catalogue entry or printing variety. If the stamp is fragile or valuable, handle it as little as possible and use tongs rather than fingers so you do not transfer skin oil or create new damage while checking the edges.
Do not rely on risky handling or untested cleaning methods
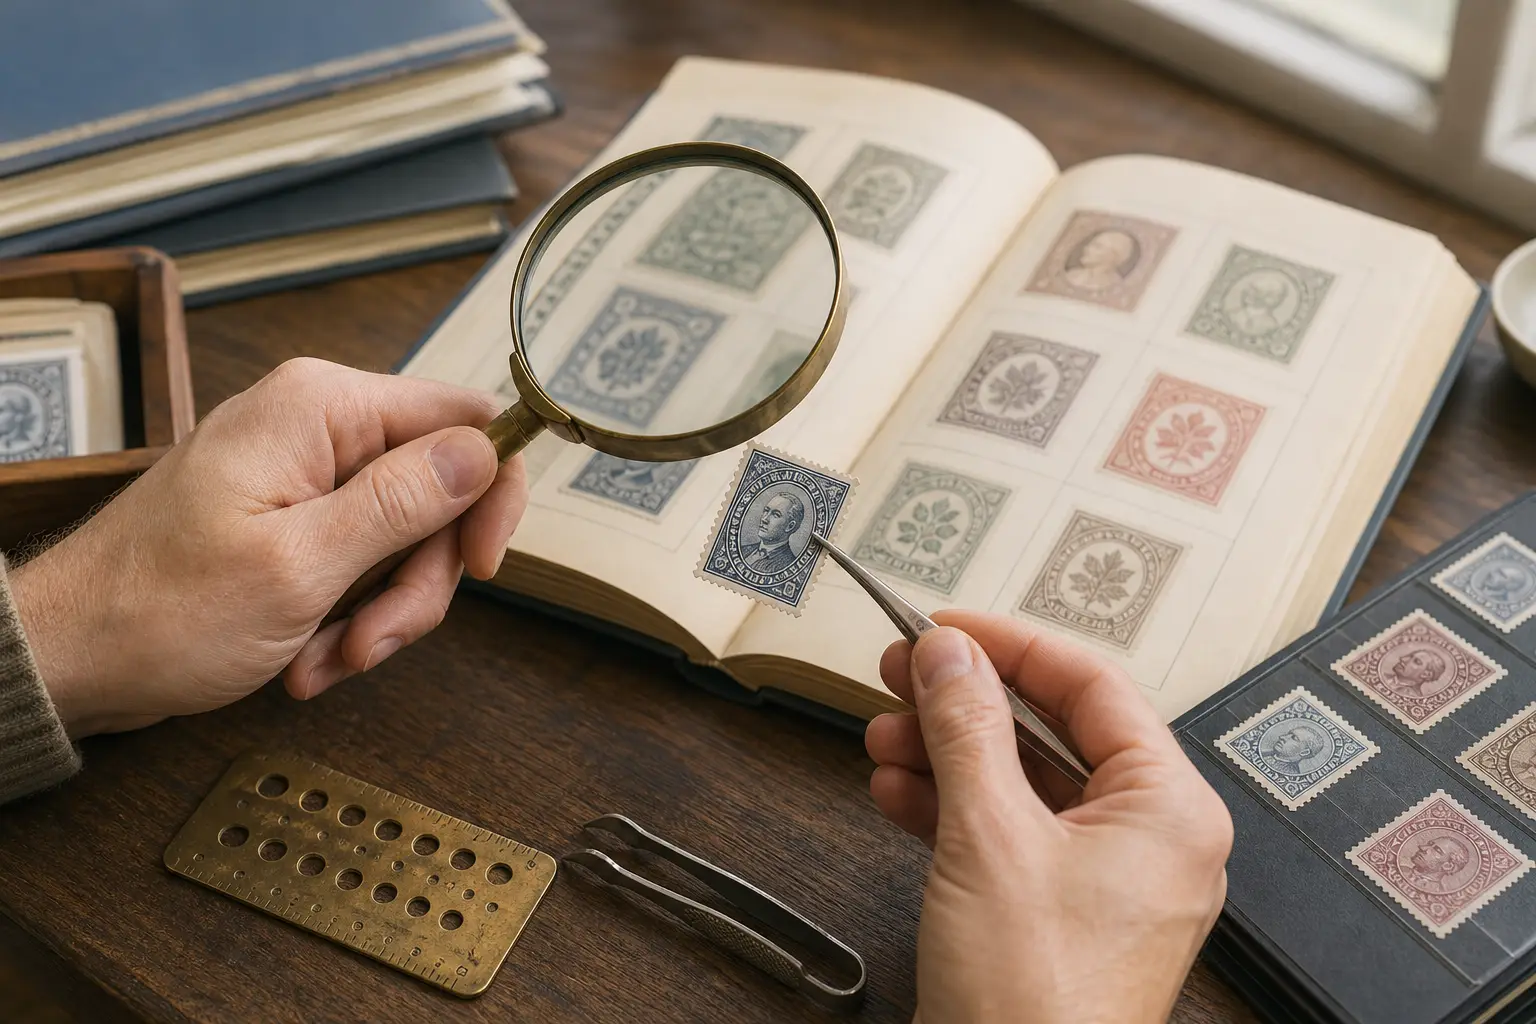
Safe identification depends on preserving the stamp while you study it. The APS advises using tongs for dry stamps because skin oil can damage them, even if your hands are clean. The same source also warns not to use tape or glue when mounting stamps, because both can reduce value and can damage the stamp when removal is attempted later.
For this kind of identification work, avoid any method that could alter the stamp just to reveal a clue. Do not use household solvents, do not pull at backing or paper, and do not experiment on stamps you have not already verified as ordinary material. If a stamp is on cover or attached to paper, identify it as it is and leave destructive testing out of the process unless you are working with appropriate collector tools and a clear reason to proceed.
Paper and backing clues can help, but they do not always settle the answer
Paper and backing can be useful clues, but they should be read cautiously. The source evidence shows that some current United States self-adhesive stamps do not simply soak off paper because their backing is oil based rather than water based. That means the backing structure itself can be a clue in identification, but it also means that removal methods vary by issue and should not be guessed at.
If you are trying to identify a modern stamp, note whether the piece seems self-adhesive, how the backing behaves, and whether the stamp matches a catalogue description. When the clues do not agree, treat the identification as provisional. A careful record of observations is more useful than forcing a label too soon, especially when you may later compare several similar examples side by side.
Build a repeatable identification routine you can trust
A practical routine keeps identification consistent. First, note the country, design, and any obvious text. Second, compare the stamp with a catalogue entry if you have one. Third, inspect details with a magnifier. Fourth, measure perforations with a gauge. Fifth, check whether the stamp is ordinary gum, self-adhesive, or another format that the source evidence and catalogue notes describe. This sequence keeps you from over-weighting one clue.
The APS says stamp collecting does not require special skills or great wealth, but it does reward careful observation. That is exactly why a structured method matters. If you create a record of your observations in an album note or in StampSnap, you can return later with better information and a cleaner comparison. When certainty remains out of reach, the responsible answer is simply that the identification is not yet conclusive.
When to stop and seek a second look
Stop and reassess when the visible clues conflict. For example, the design may resemble one issue while the perforation count points to another, or the catalogue description may not fit the paper or backing you see. In those cases, the right next step is not more forceful handling; it is a second comparison against trusted references. If available, look for a catalogue image, a clear reference scan, or another example with the same basic design.
You should also pause if the stamp is delicate, stuck down, or part of a cover. The source evidence supports collecting covers and other mail material, so it is normal to encounter stamps in mixed formats. In that situation, record what you can observe without trying to separate the item first. Identification is still possible from a photograph, a scan, or a careful visual inspection, and it is better to keep the item intact than to create damage in the hope of getting a slightly clearer view.
Frequently asked questions
What is the first safe step in identifying a stamp’s printing process?
Start with a catalogue and visible clues such as design, perforations, and paper. The APS says catalogues can include how a stamp was printed, which makes them a strong first reference.
Can a magnifying glass really help identify similar stamps?
Yes. The APS says a magnifying glass helps reveal small differences that can identify a rare stamp, and it recommends 5x to 10x magnification without distortion.
Why do perforations matter so much?
Because some stamps have the same design but different perforation numbers. A perforation gauge lets you compare those holes accurately instead of guessing by eye.
Should I remove a stamp to test its backing or paper?
No, not as a first step. The safe approach is to identify the stamp as it is, because forcing removal or using untested methods can damage it.
What should I do if the clues do not match one clear answer?
Treat the identification as provisional and compare again with a catalogue or other trusted reference. If the clues still conflict, it is better to leave the stamp unidentified than to force a wrong conclusion.