The safe answer: let stamps dry fully before album storage
If a stamp is wet, softened, or just soaked, do not rush it into an album. The safest approach is to let it dry completely first, because wet stamps are easier to damage than dry ones and can tear if handled too soon. For collectors, the practical goal is simple: move only dry, stable stamps into your storage system.
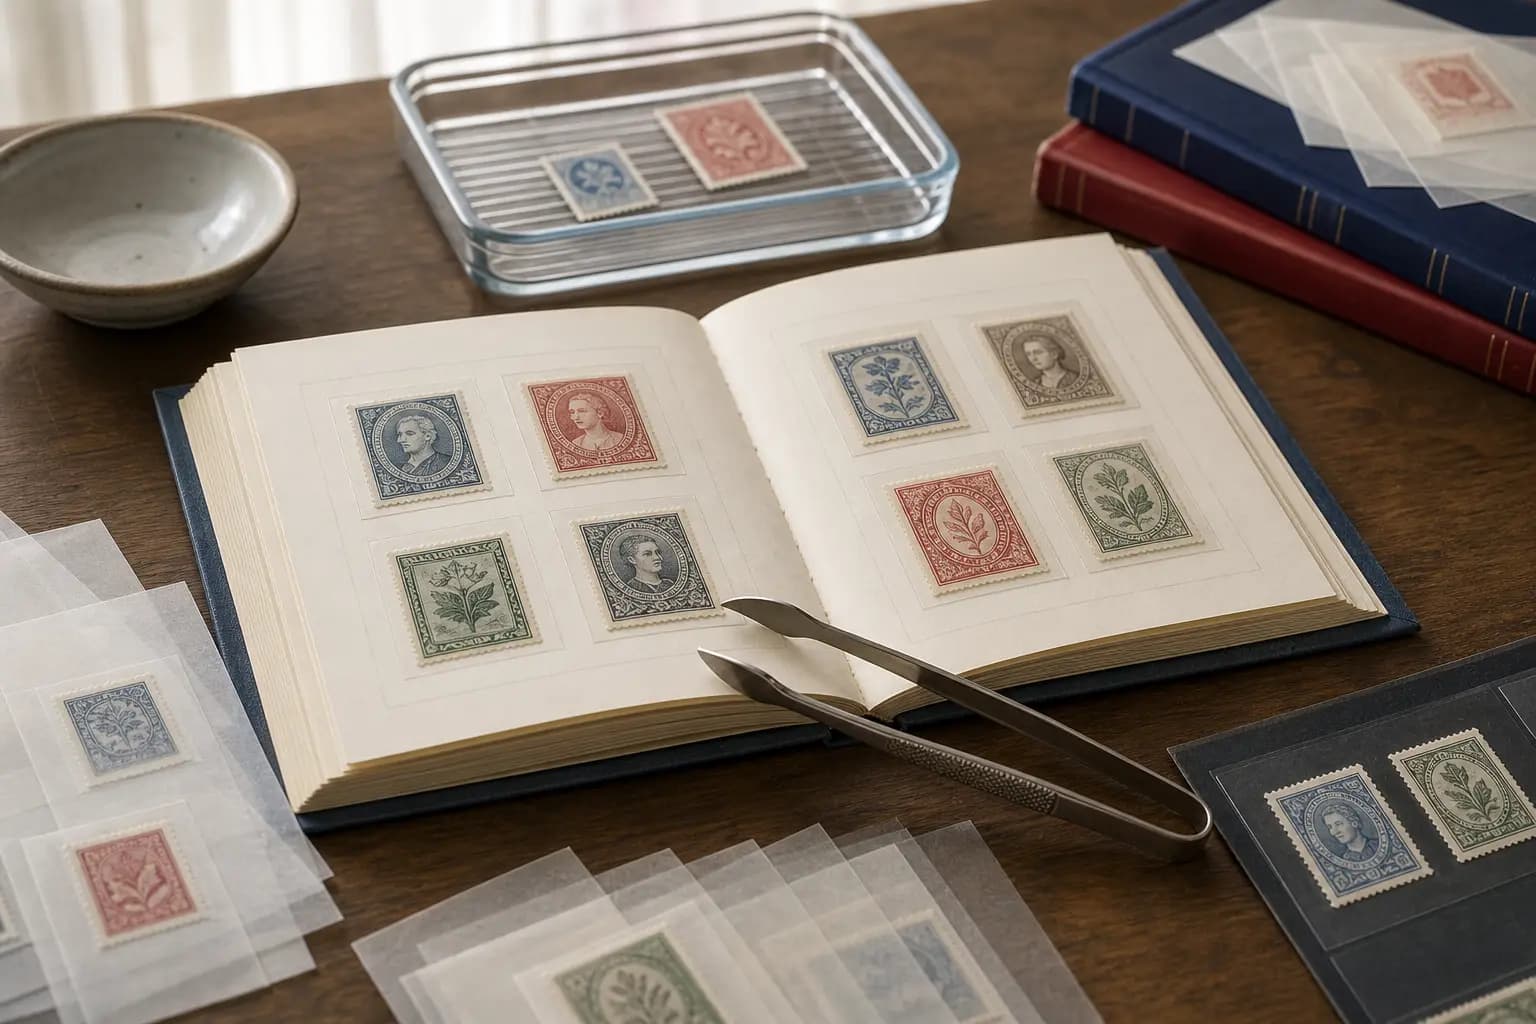
The American Philatelic Society recommends using tongs for dry stamps, because oils from your skin can damage them even when your hands are clean. That means the first preservation rule is not about speed, but about condition. Dry material can be handled carefully; wet or softened material should be left alone until it is ready.
Why drying matters before you sort or mount
Drying is part of preservation, not just a waiting step. A stamp that still holds moisture can curl, stick to nearby material, or distort as it dries in place. If you press a damp stamp into an album page too soon, you may trap moisture and create later problems that are harder to correct.
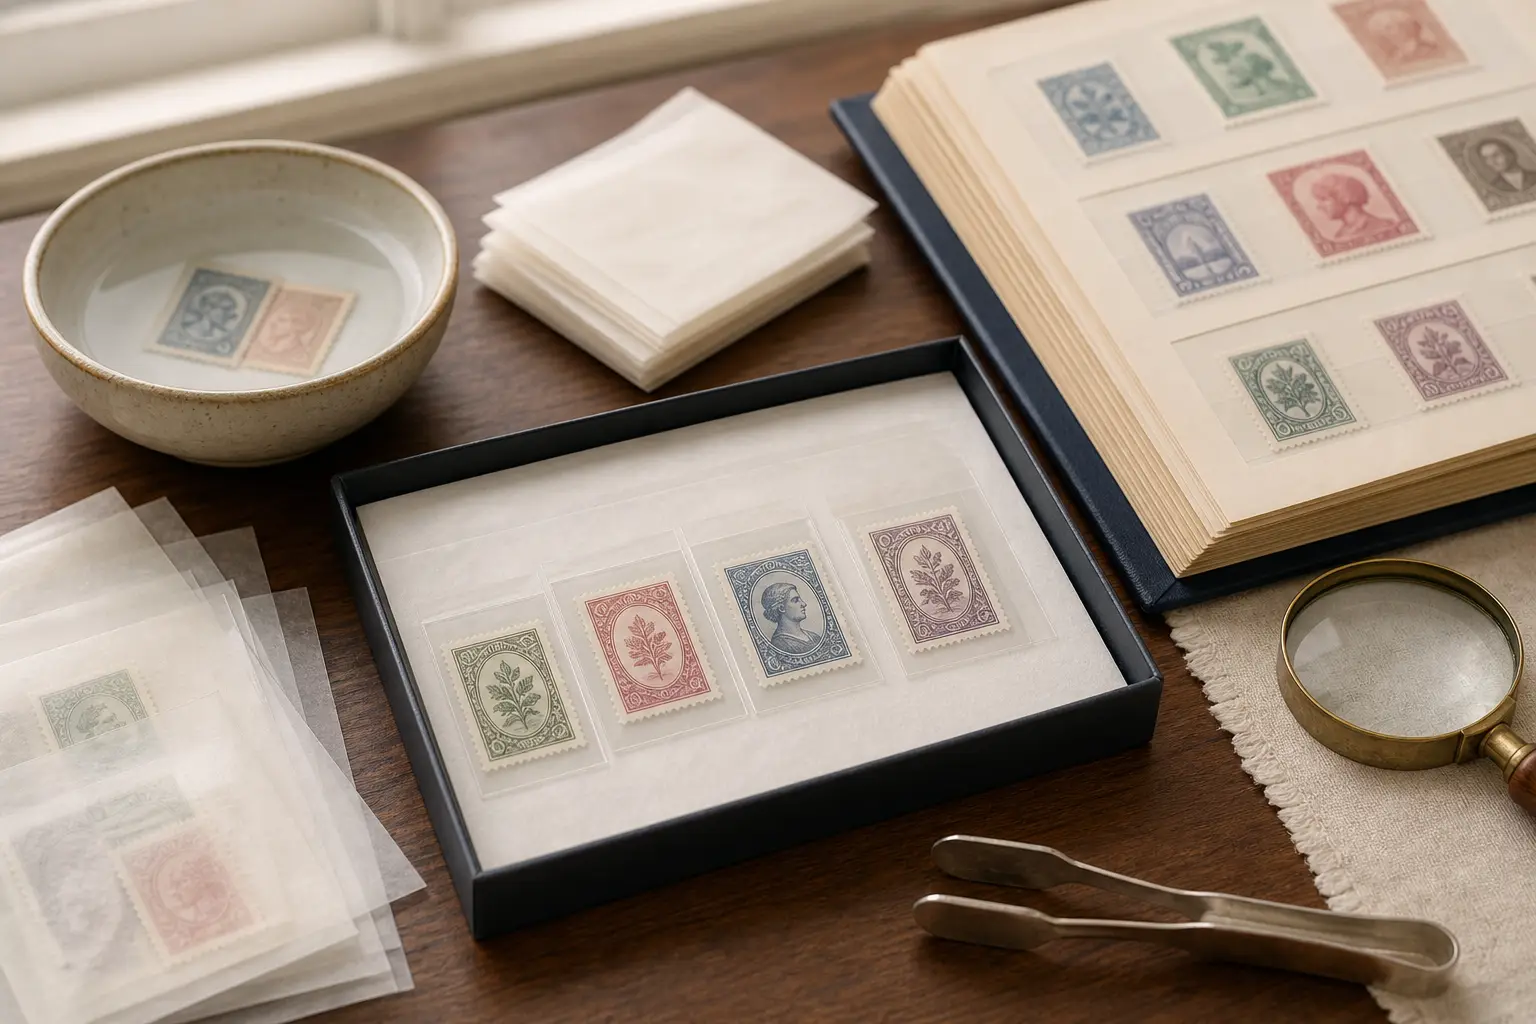
The APS guidance on soaking and storing stamps is clear that patience matters. Stamps should be removed from water only when they float free naturally, then dried overnight. If you are preparing material for an album, it is better to pause than to force the process. A careful delay now is usually safer than trying to repair damage later.
How to dry stamps without causing curl or sticking
A conservative drying method is to place the stamps between two paper towels and set a book on top to help reduce curling. This is a gentle pressure method, not a squeeze. The aim is to keep the stamps flat while they lose moisture, not to flatten them aggressively.
Leave the stamps to dry overnight rather than checking repeatedly or moving them around. If you are drying several at once, keep them separated enough that they do not touch or overlap. The key is calm, even drying in a clean, flat space where the paper can settle without sticking.
What to do with self-adhesive stamps and other difficult material
Not every stamp should be treated the same way. The American Philatelic Society notes that many United States self-adhesives issued in 2004 or later will not soak easily, if at all, and the FAQ says most current U.S. self-adhesives will not simply soak off because the backing is oil based rather than water based. That means you should not assume ordinary soaking will solve every removal problem.
For difficult self-adhesives, use the safest method described for that type of stamp and do not improvise with household products. If you are unsure, keep the envelope or cover intact until you can identify the safest next step. StampSnap can help you create a likely identification or collection record, but it should not be treated as an authentication or appraisal tool.
Sorting before storage: wait until the stamps are stable
Once stamps are dry, sort them into the order that matches your collecting plan. The APS suggests sorting by country, topic, or service type, and it also notes that there is no right or wrong way to collect. That flexibility matters because a dry, sorted group is much easier to store safely than a mixed batch that is still moving or clinging together.
While sorting, remove badly damaged duplicates if your collection goals allow it, and keep the best representative copy. If a stamp is still slightly soft, leave it aside rather than forcing it into a stack or pocket. Dryness first, organisation second, mounting last is the safest sequence.
How to choose the right storage material once the stamps are dry
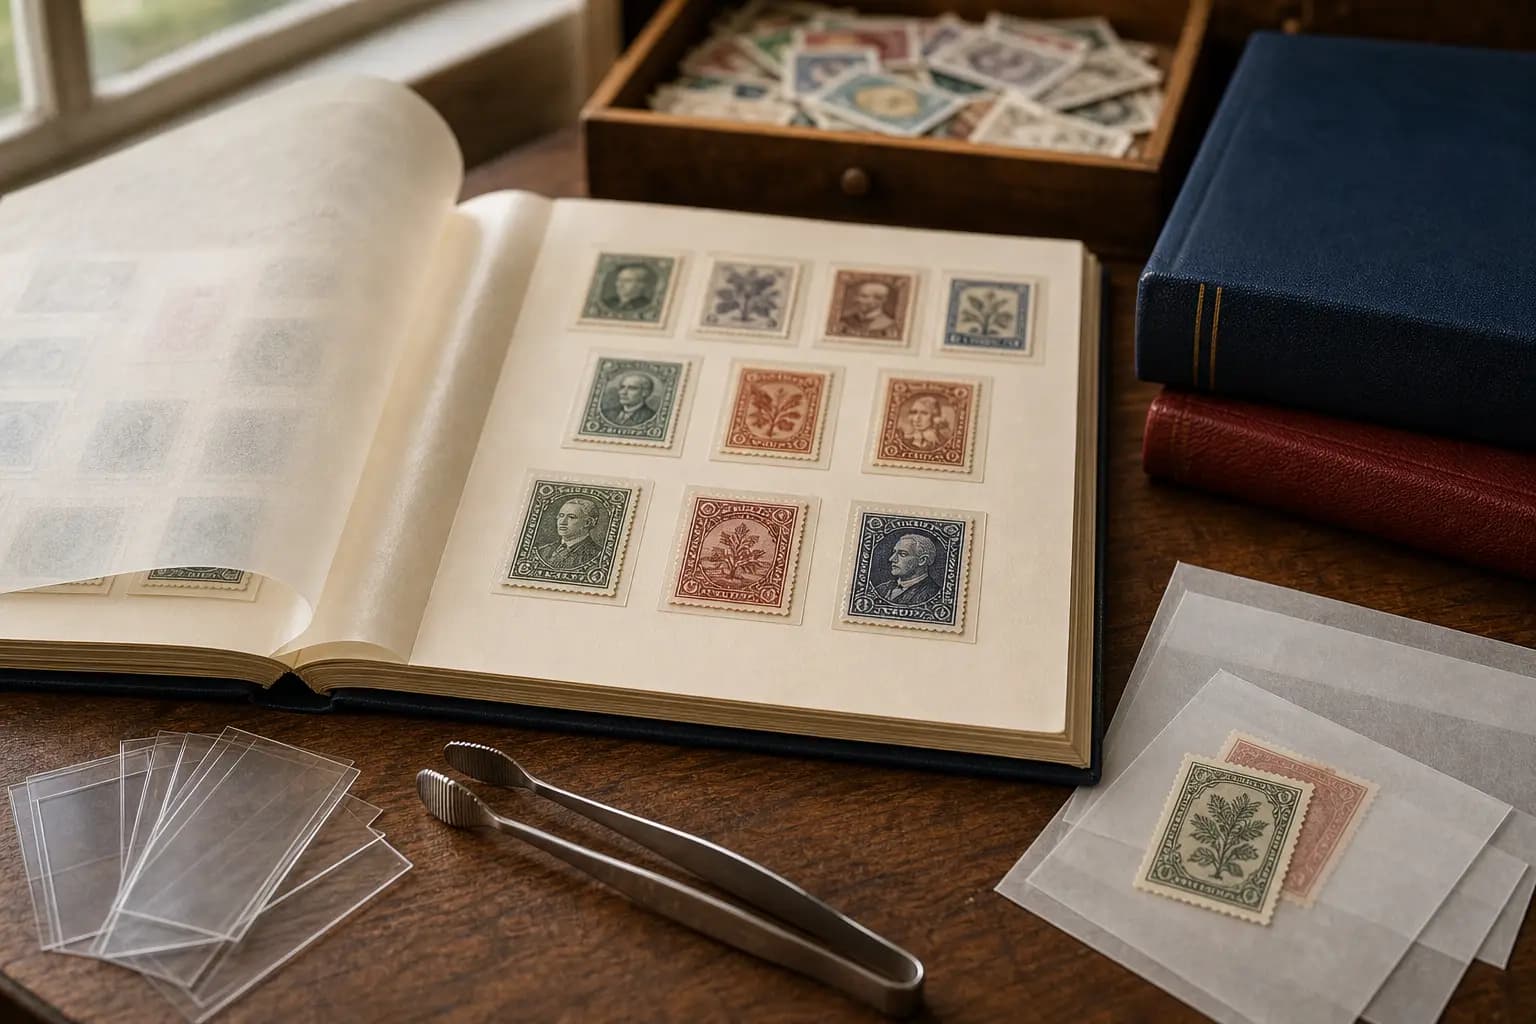
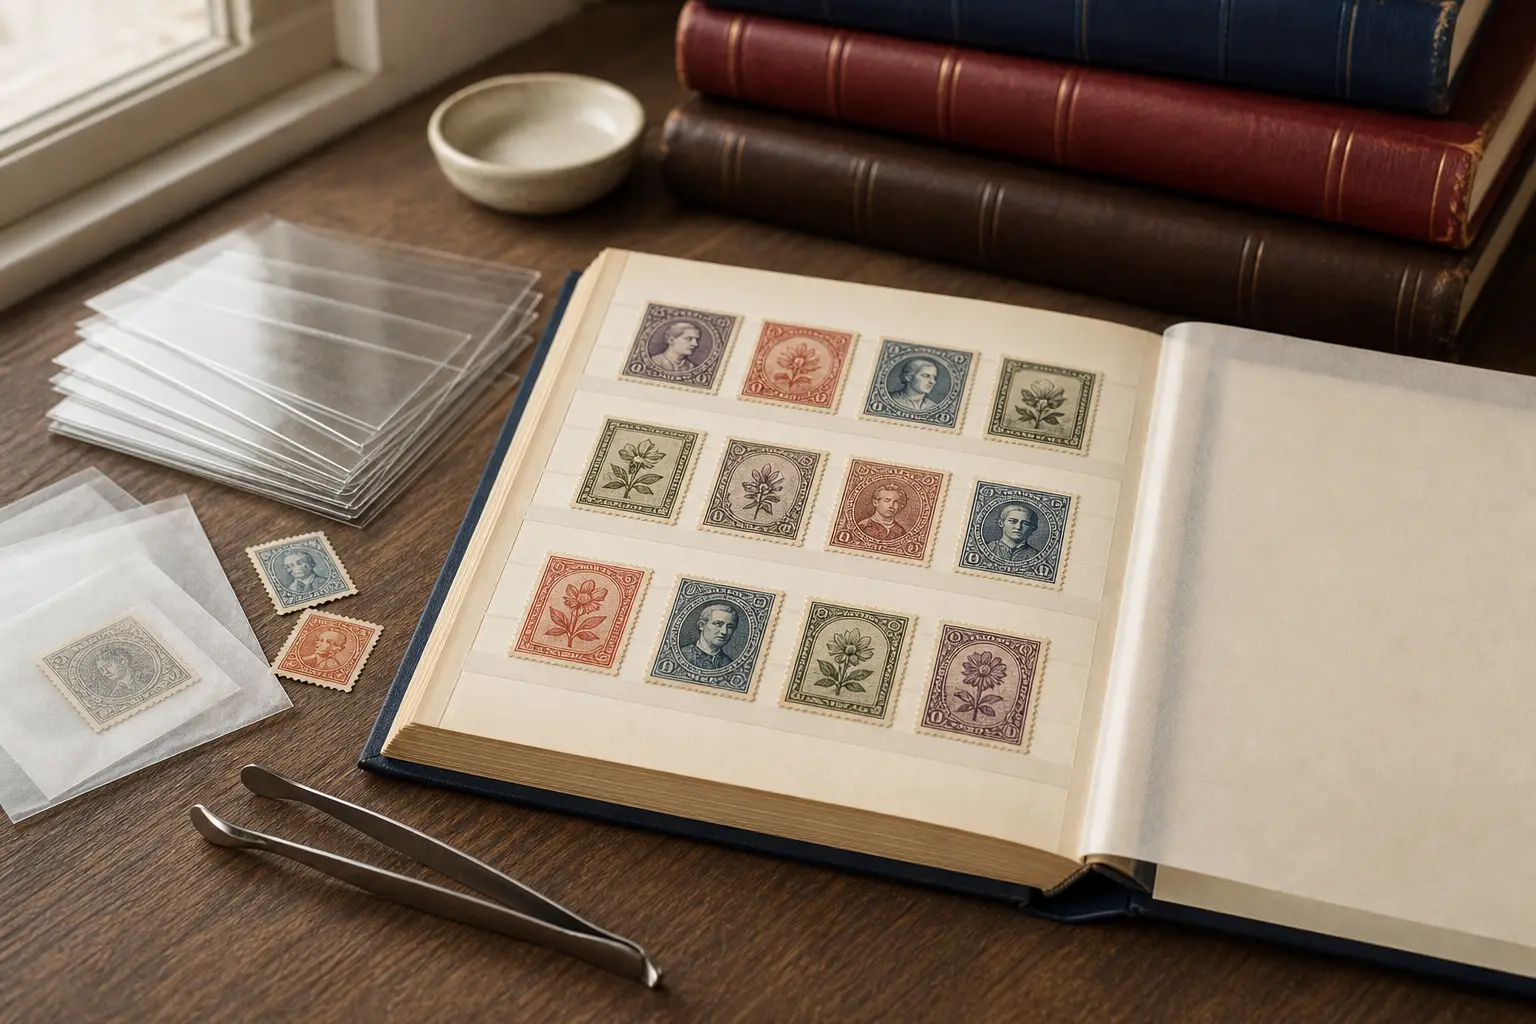
After drying, place stamps in glassine envelopes, albums, or stock books until you are ready to mount them. The APS recommends albums for protection and notes that stock books can be organised in whatever way you prefer. A safe album choice uses acid-free pages or suitable stockbook pockets, not sticky photo-album pages that can damage stamps.
When you are ready to mount a dry stamp, use a hinge or a mount rather than tape or glue. The APS specifically warns that tape and glue can reduce value and may damage the stamp if removal is attempted later. Handling should remain minimal, and dry stamps should be touched as little as possible with tools designed for the job.
A preservation checklist for collectors who want fewer mistakes
Use this simple sequence: identify the material, let it dry fully, keep it flat, sort it gently, and only then decide how to store or mount it. If an envelope has a special cancel or image you want to preserve, consider keeping the entire envelope rather than removing the stamp. That choice can protect context as well as paper.
For close look-alikes, a magnifying glass can help you see the details that matter, and the APS recommends one with clear, distortion-free magnification. Combine that with tongs for dry stamps, not wet ones, and you have a conservative working method that suits most everyday collecting situations. The more deliberate your drying and storage routine, the less likely you are to create avoidable damage.
Frequently asked questions
Should I put a wet stamp directly into an album?
No. Let the stamp dry completely first. Wet stamps are easier to damage, can curl, and may stick or distort if mounted too soon.
What is the safest way to reduce curling after soaking?
Place the dryable stamp between two paper towels and put a book on top gently. Leave it overnight so it can dry flat without being squeezed.
Can I use tongs on a wet stamp?
No. The safe practice is to use tongs for dry stamps. Wet stamps are more fragile and should be handled as little as possible until fully dry.
What should I do if a modern self-adhesive stamp does not soak off easily?
Do not force it. Many current U.S. self-adhesives do not soak off in water because of their oil-based backing, so keep the material safe and use the correct method for that type.