The safest answer: dry first, sort second, store third
If you want to protect stamps before putting them into an album, the safest approach is simple: keep wet or softened material apart from dry stamps, let everything dry fully, then sort and store with minimal handling. Do not rush straight from soaking into mounting, because damp stamps are easier to tear, curl, or crease.
A conservative routine is to treat each stage separately. First decide whether a stamp should even be removed from its cover or envelope, because the entire cover may be worth keeping for its cancel or other postal history features. If a stamp is already loose and dry, you can handle it carefully with tools. If it is wet, softened, or freshly soaked, keep your hands and tongs out of direct contact until it is ready.
When to remove a stamp, and when to keep the entire envelope
Not every stamp needs to be removed from its envelope. If the envelope has an attractive cancel, image, or other postal feature you want to preserve, the safer choice may be to keep the whole cover in your collection instead of separating the stamp. This avoids unnecessary stress on the stamp and preserves context that could be lost by soaking.
If you do decide to remove a stamp, soaking is the standard method for many traditional stamps, but the collector should work carefully and accept that some material should not be forced. The American Philatelic Society notes that many U.S. self-adhesives issued in 2004 or later will not soak off easily, if at all, and that current U.S. self-adhesives generally have oil-based backing rather than water-based backing. That means the old soak-and-lift approach is not appropriate for every stamp.
How to soak stamps without creating avoidable damage
For stamps that are suitable for soaking, use lukewarm water in a shallow bowl. Keep the water away from hot temperatures, because hot water may damage stamps. Cut the upper right-hand corner of the envelope if needed, but do not cut into the stamp itself. Place stamps stamp-side up and do not crowd them, because each one should have room to float free.
Brightly coloured envelopes should be separated first, since their colour may bleed during soaking. If you are working with several groups, change the water after two or three batches. When the stamp begins to float free, remove it gently and do not pull it before it is ready, or you may tear the paper. Wet stamps are more vulnerable than dry stamps, so this is the stage where patience matters most.
Drying is a preservation step, not an afterthought
After soaking, rinse the back gently in fresh water so gum or paper residue is removed, then place the stamps between paper towels and put a book on top if needed to reduce curling. Leave them to dry overnight. This is important because a stamp that looks nearly dry can still be fragile enough to crease or stick if moved too soon.
Do not use tongs on a wet stamp, because the smooth gripping surface that is useful on dry material can still damage softened paper. Once a stamp is fully dry, tongs are the safer tool for moving it. The point is not to handle stamps more often, but to handle them less and with better control when they are ready.
Sort only after stamps are dry and stable
After drying, sort stamps into a simple working order before mounting them. You can sort by country, topic, or by the postal service type, such as airmail, special delivery, postage due, parcel post, or revenue. There is no single right way to do this, and sorting is often ongoing because most collections keep growing over time.
While sorting, set aside badly damaged examples unless they are valuable or hard to replace. If you have duplicates, keep the best copy, which is usually the one that is well centred and lightly cancelled. The rest can be stored for trading or later study. A magnifying glass can help you notice small differences, and a stamp catalog can help you identify issue details, dates, printing notes, and used or unused values.
Choose storage that protects the stamp, not just the album page
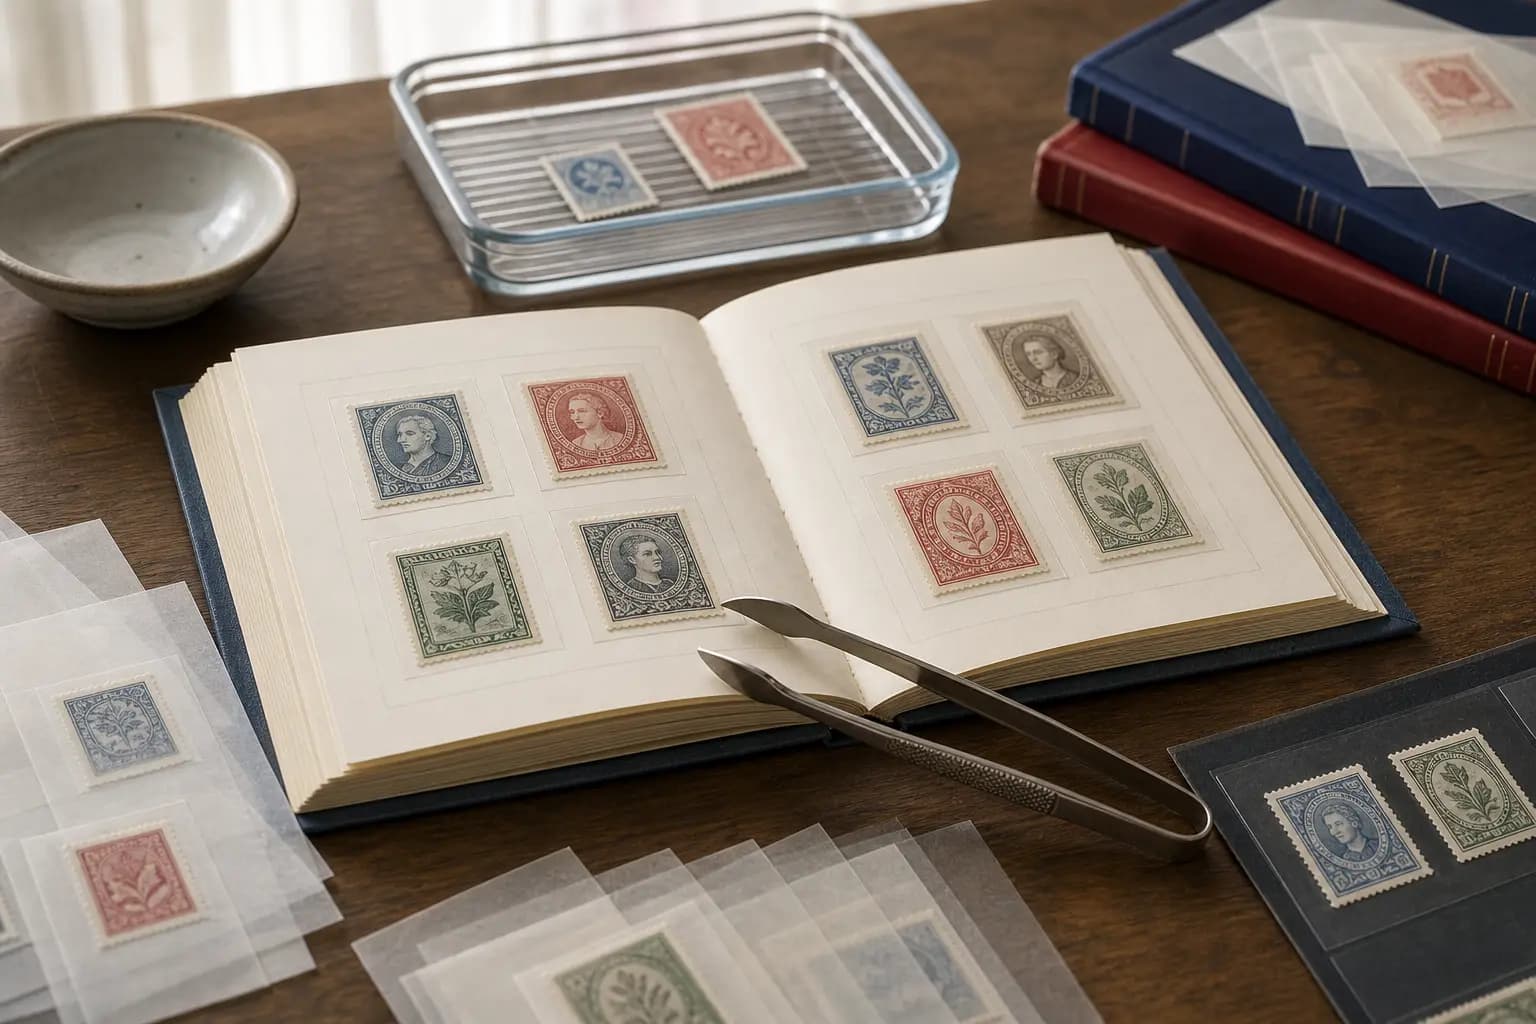
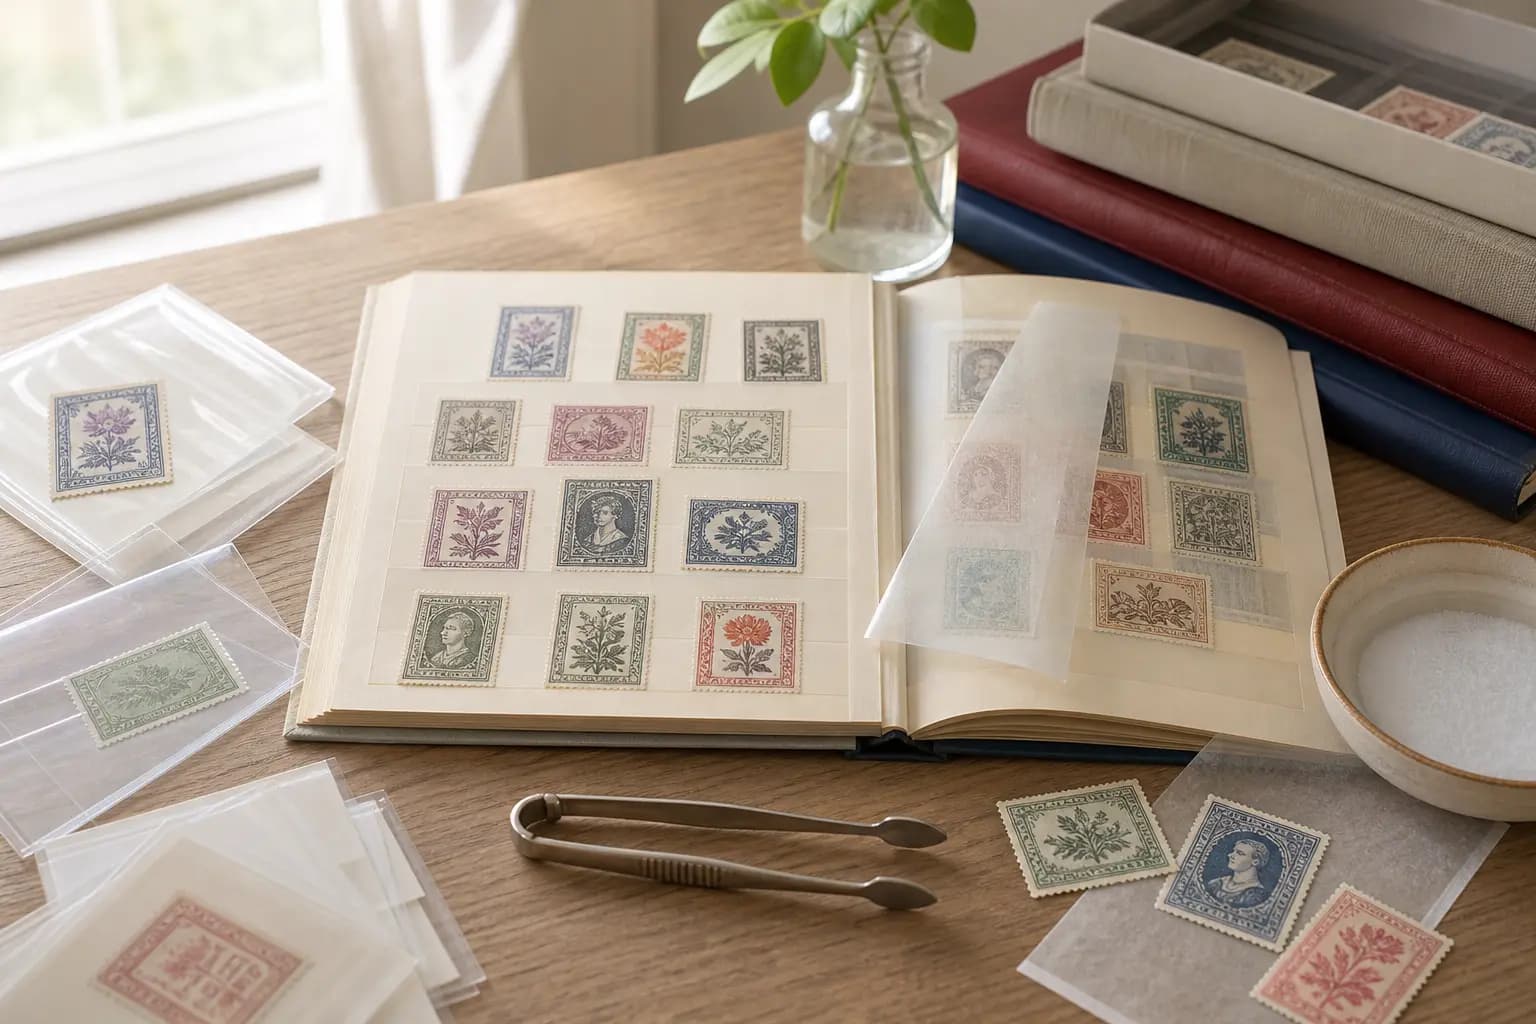
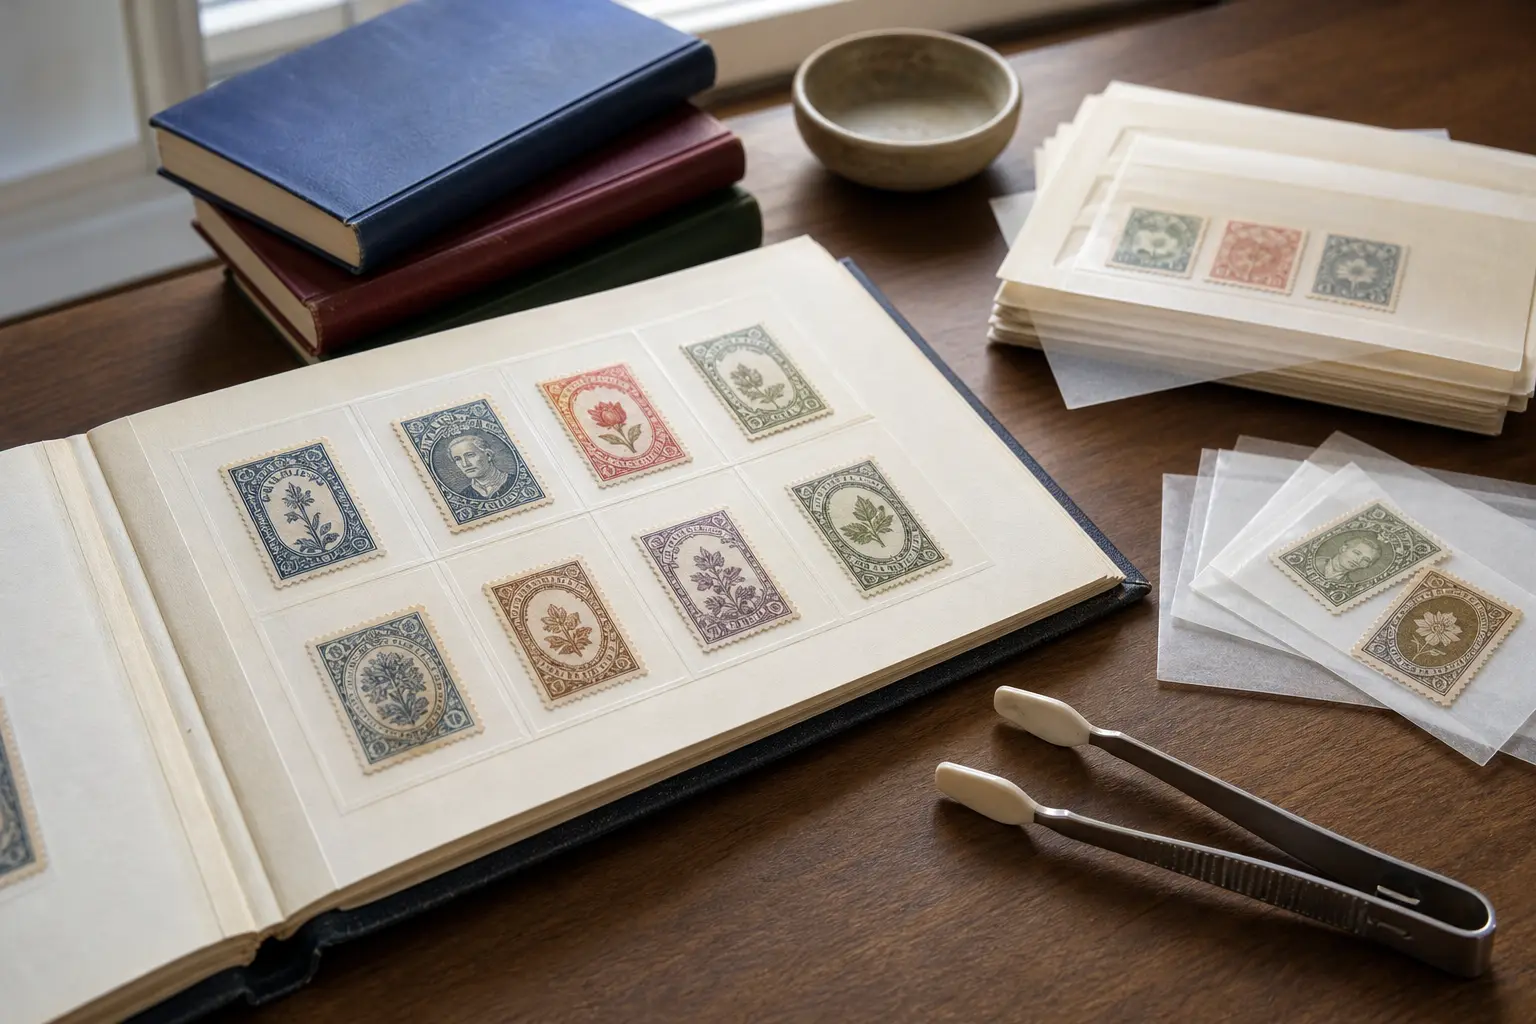
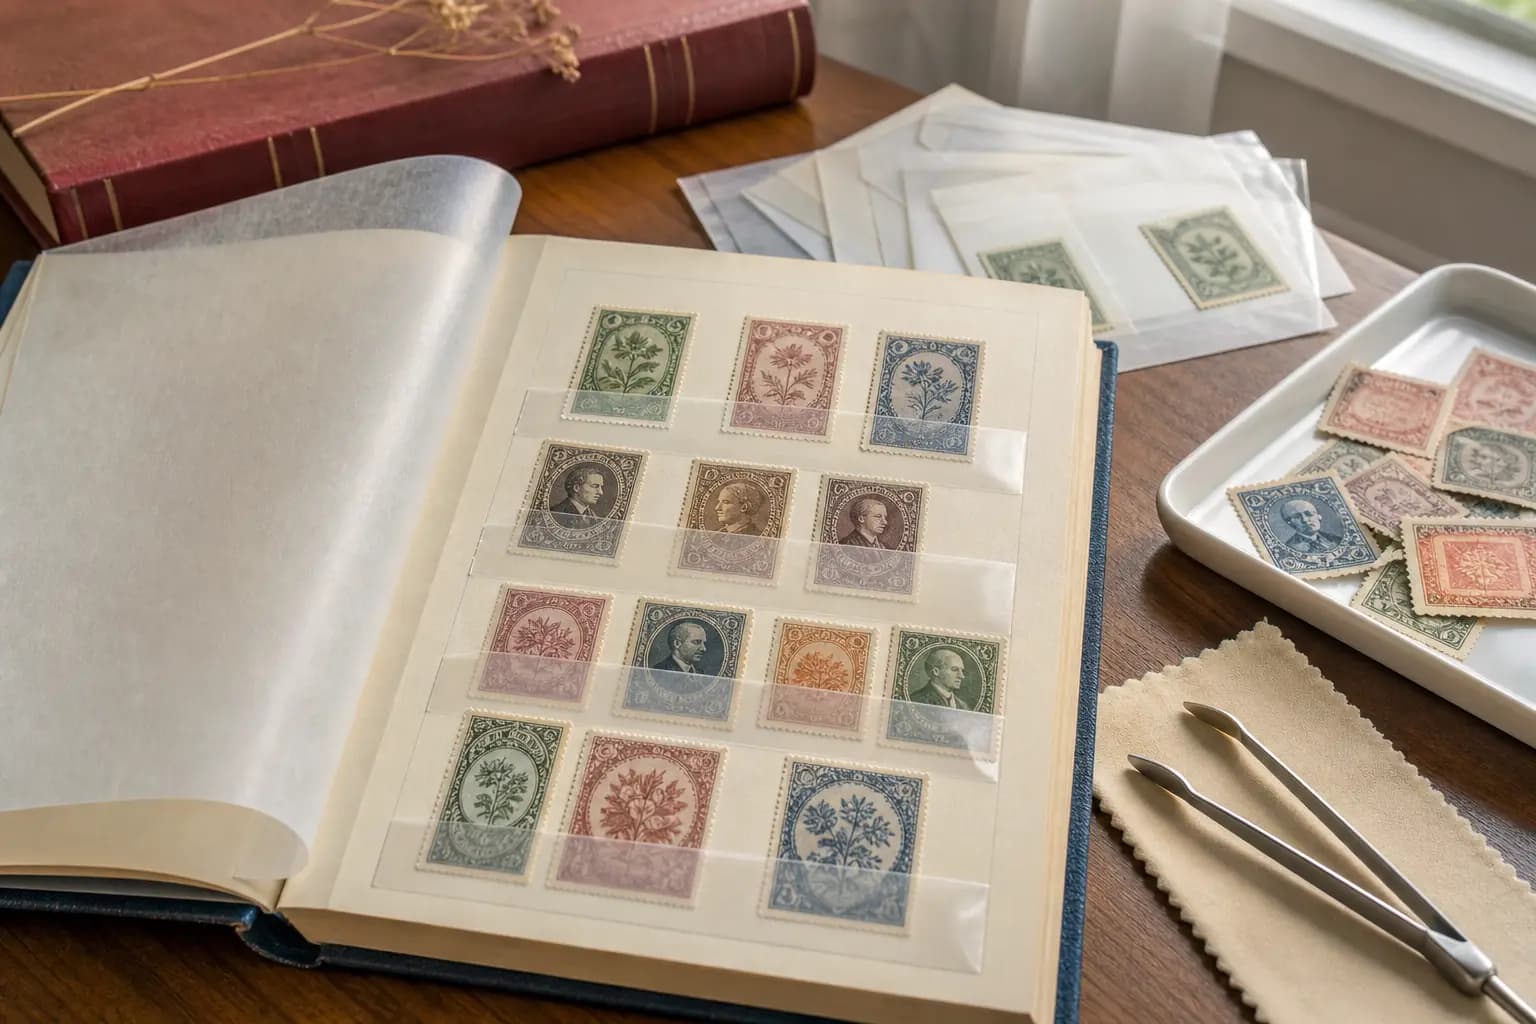
Before final album mounting, store dry stamps in glassine envelopes, albums, or stock books. The American Philatelic Society notes that albums help protect stamps, and that stock books can be useful if you want flexible organisation without preprinted page layouts. If you use a photo album, make sure the pages are acid-free and not sticky.
For mounting, use hinges or mounts rather than tape or glue. Tape and glue can lower value and may damage the stamp if it is later removed. Hinges are meant for removable mounting, while mounts are clear plastic sleeves. If you are unsure which is best for a particular item, keep it in temporary storage until you can make a careful decision, rather than forcing a quick mount.
A practical preservation routine for everyday collecting
A safe routine is to work in this order: inspect the item, decide whether to keep the whole cover, soak only suitable stamps, dry them fully, sort them gently, then store them in protective holders until you are ready to mount them. This sequence reduces avoidable contact and gives you time to check for unusual cases such as self-adhesive backing or fragile paper.
If you want a clean record of what you have, StampSnap can help you create a likely identification or collection note while the stamp remains in safe storage. That is most useful when you are building a working inventory and do not want to keep rehandling the same pieces. The main rule stays the same: preserve first, move second, and mount only when the stamp is completely ready.
Frequently asked questions
Should I remove every stamp from its envelope before storing it?
No. If the envelope has a cancel or other feature you want to keep, store the entire cover instead of removing the stamp.
Can I use tongs on a wet stamp?
No. Tongs are for dry stamps. Wet stamps are easier to damage, so wait until the stamp is fully dry before using them.
How do I know if a stamp should be soaked?
Many traditional stamps can be soaked, but many U.S. self-adhesives issued in 2004 or later will not soak off easily, if at all.
What should I use instead of tape or glue in an album?
Use a hinge or a mount. Both are designed to hold a stamp more safely than tape or glue.
How long should I dry stamps before mounting them?
Leave them to dry overnight, or until they are fully dry and no longer soft or curled.